MAKING
A HORSE (II)
Now
make a longer ball which we can use for the horse's neck.
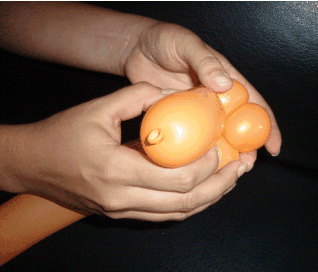
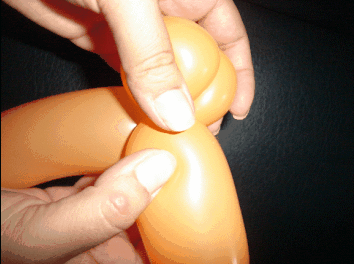
Next we
will make a larger ball.
This will
be the horse's neck.
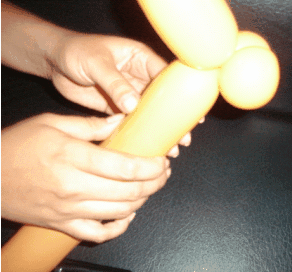
The ball
that we make will be bigger.
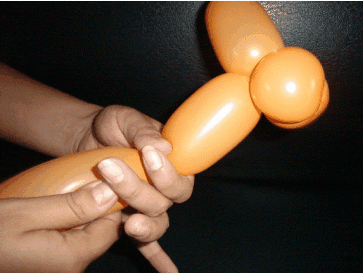
Hold onto
the ball that you made to resemble the neck and make two smaller balls.
These will
be the horse's front legs.
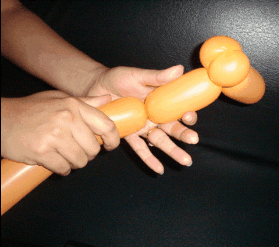
Here you
can see me making the horse's legs.
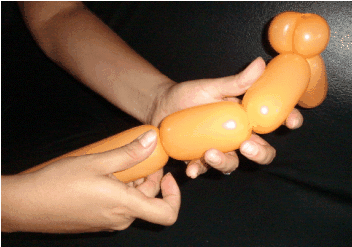
Now we
have finished making the two balls, we will go onto joining them to
form an axle. Make them join at the last knot of the second leg with
the last knot of the horse's neck.
Look at
the procedure in the photo.
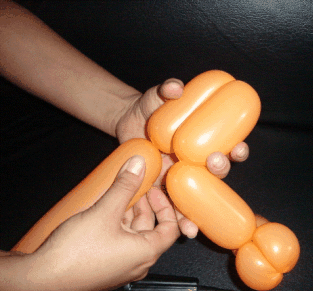
Join the
balls that we have made for the legs to the knot that you have made
for the horse's neck.
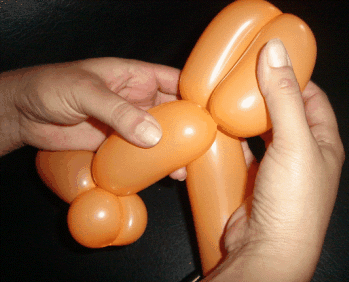
Here you
can see the result.
You can
see how we have joined the different parts.
You can
see how the horse is coming along.
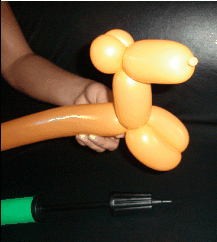
Now make
a larger ball for the horse's body.
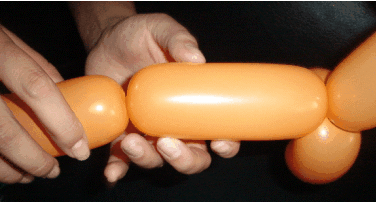
Make two
more balls to represent the horse's back legs.
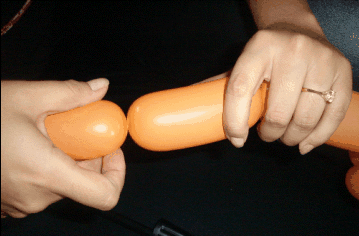
Repeat
the procuedre that we did with the front legs.
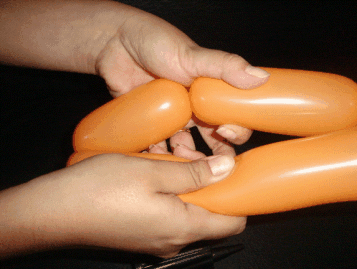
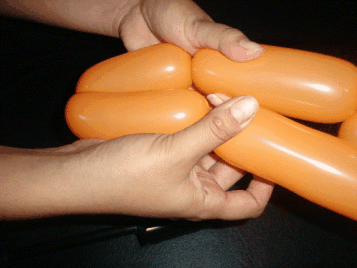
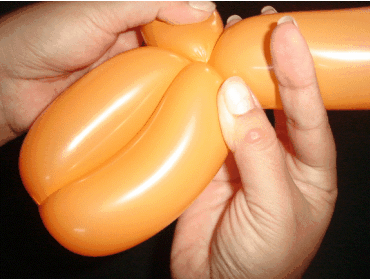
Join the
knot from the last ball to the knot from the torso.
You can
see the procedure in the photo.
You can
see it is an easy procedure to follow.
You will
now create the horse's tail.
In the
photos you can see how the horse is taking shape.
You can
leave it like this or you can make another ball in the tail.
As you
can see it has been quite easy to make.
It is a
fun entertaining hobby which will make you popular with many people,
especially children.
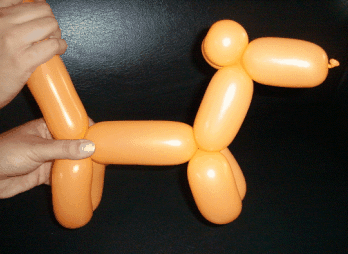
You can
leave your horse like that or you can draw a funny face on it.
This part
is optional.
We are
going to show you how to draw the face.
We are
going to use a black marker pen.
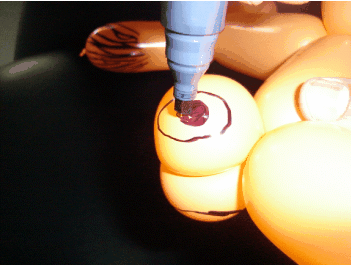
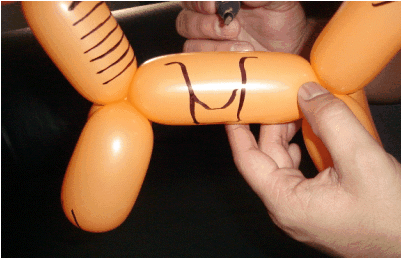
We will
draw a few lines to resemble the horse's hair and a saddle.
Remember
you have to use your imagination.
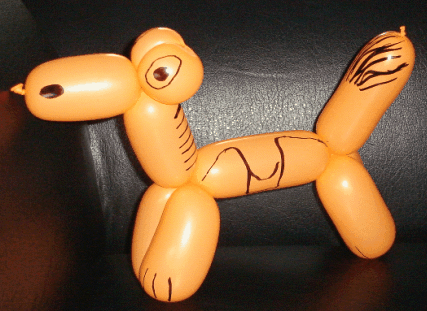
Here you
can see the finished horse.
We hope
that you have enjoyed this figure and that you make one at home.
As you
can see it is easy.
This course
is a lot of fun!
Lets make
another figure.
|