MAKING
A CAMEL (II)
After
completing the ball that we are going to use to represent the neck,
we will make two smaller balls, which we will use for the camel's
two front legs.
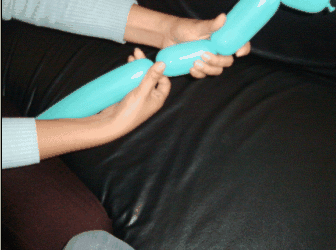
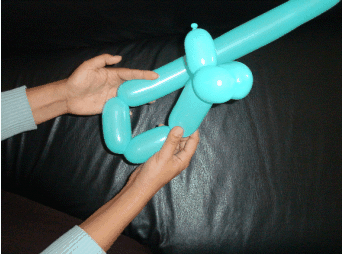
Here you
can see the balls that will be the camel's legs.
We can
follow the same procedure as with the horse.
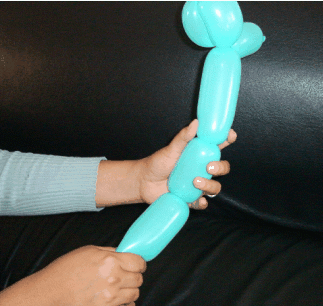
Join the
balls to make the legs.
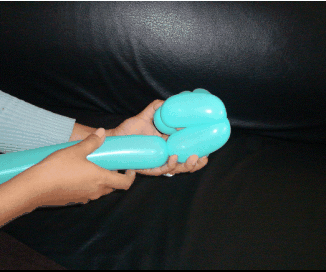
Here you
can see how we carry out the process.
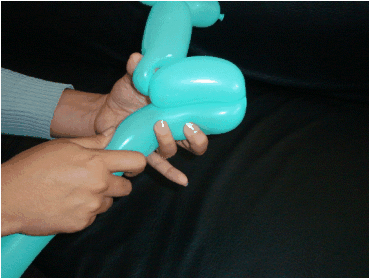
Join them
together.
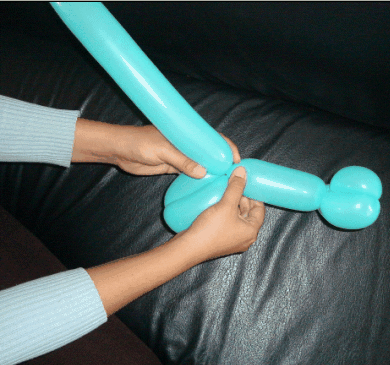
Twist the
balloon once or twice so that it doesn't come undone.
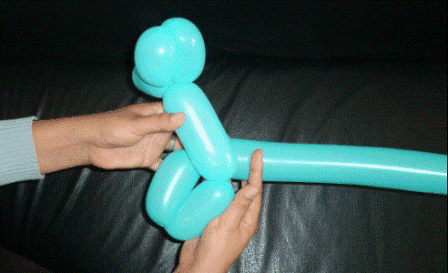
Here you
can see the camel's front legs.
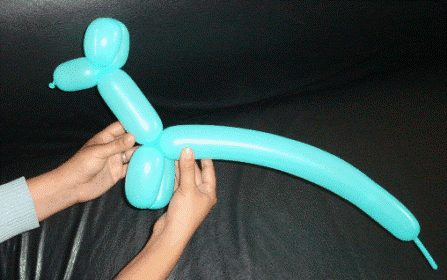
We have
made one more ball for the torso.
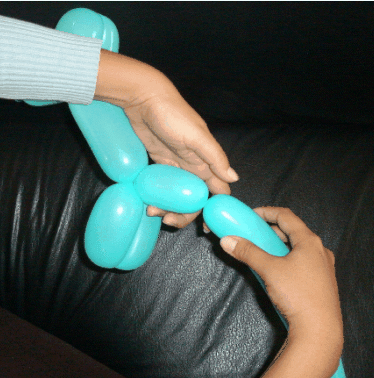
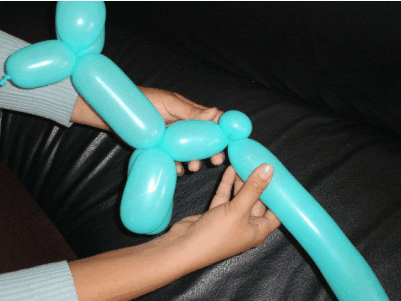
Now make
a smaller ball, we will use this for the camel's hump.
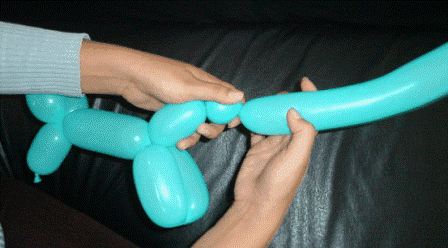
After completing
the small ball which will be the hump, twist the balloon, making the
ball slightly more rounder. Join the 2 knots of the small ball.
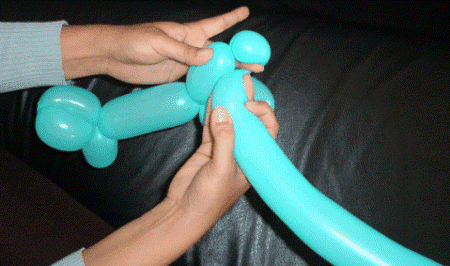
Here you
can see how we twist the balloon.
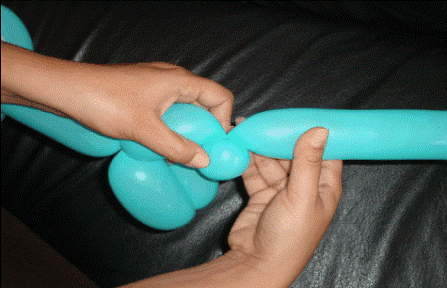
We are
trying to make a hump, as you can see from the picture.
|