MAKING
A BUTTERFLY (II)
Now
we are going to make the butterfly's body.
Inflate
the green balloon less than 3/4 of its capacity.
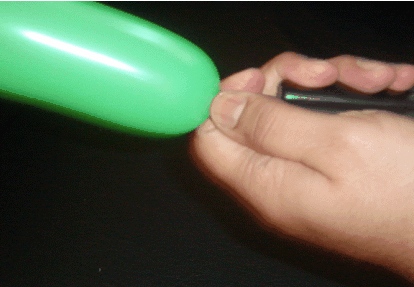
Here you
can see the green balloon.
We have
not inflated it to the maximum because later we will need speace to
move the balls into different places.
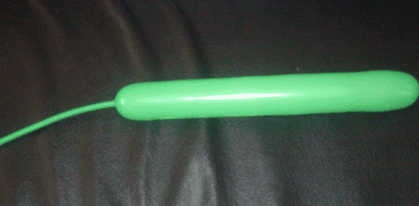
Now create
two small balls at either end of the balloon. We can use these balls
to represent the butterfly's eyes.
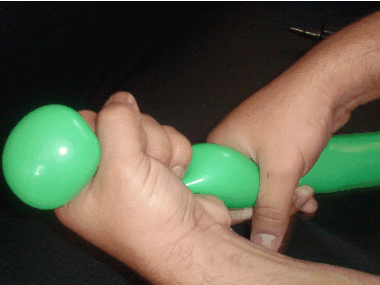
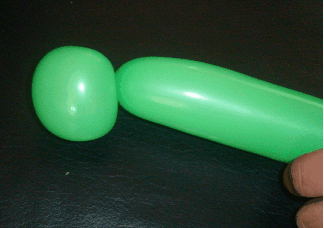
This is
what the first ball should look like.
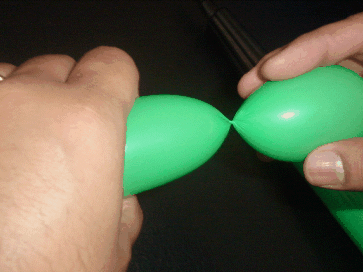
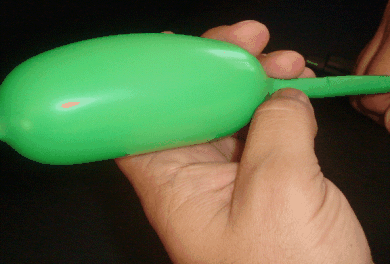
Here you
can see how we move the air ball to the other side.
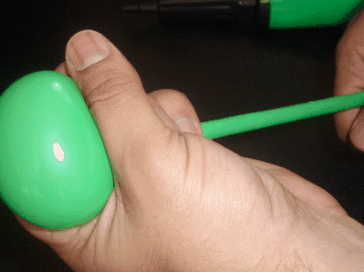
Leave the
ball at the end.
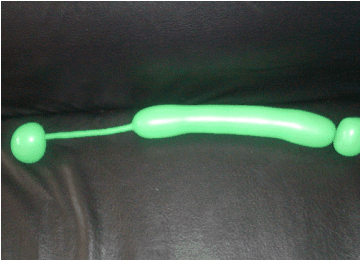
This is
how we will leave the balloon.
The ends
will be the butterfly's eyes.
Now pass
the green balloon around the central part of the yellow and sky blue
balloons. Join the two balls that we have made so that they can't
move.
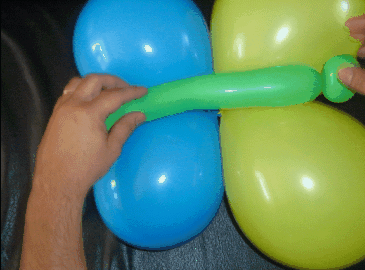
The balloon
will be around the centre.
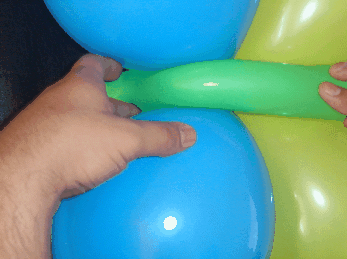
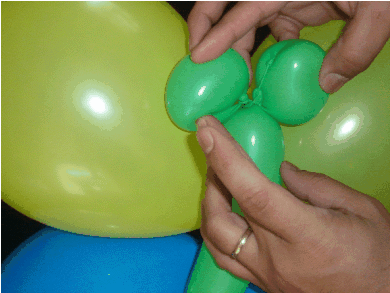
Here you
can see where we join the balls.
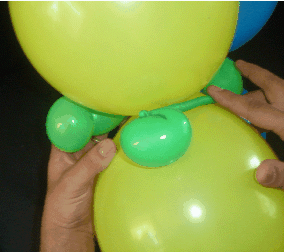
It is easy
to join them. As you can see, all you have to do is twist the balls
a couple of times.
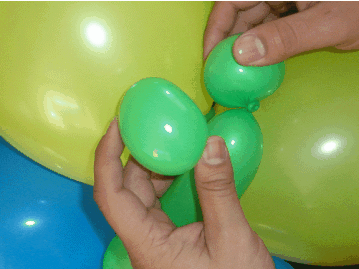
Here you
can see the butterfly's eyes.
Here you
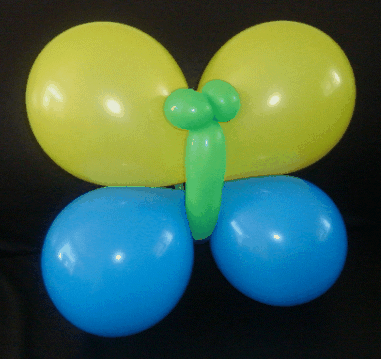
can see where we are up to.
Now we
are going to add some colour.
We will
use the red balloon to make a contrast.
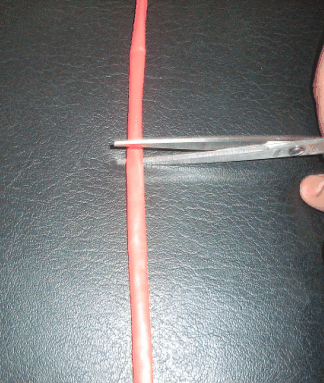
We will
cut it becasue we are only going to use a very small part of it.
Inflate
it.
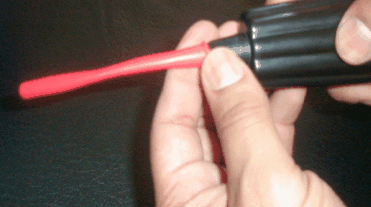
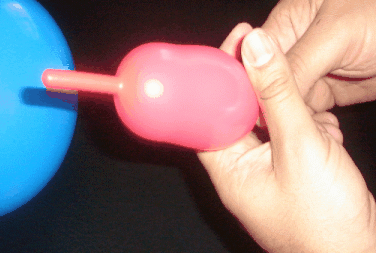
We can
make the butterfly's feelers.
Join the
red balloon to the green balloon.
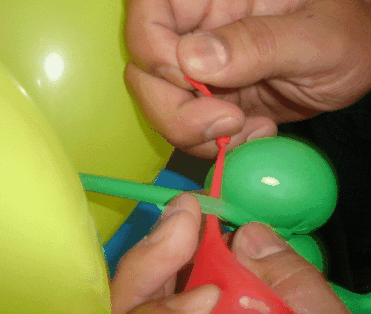
Tie a simple
knot.
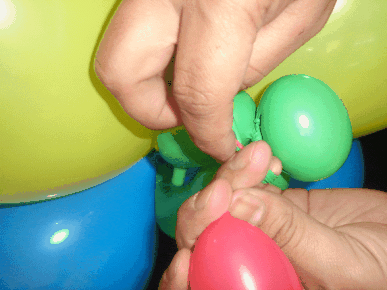
We will
leave the red balloon as a feeler.
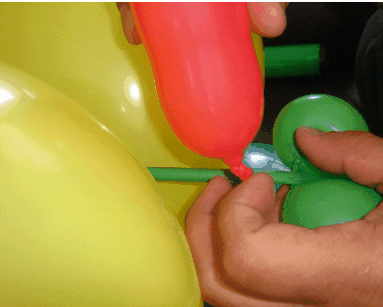
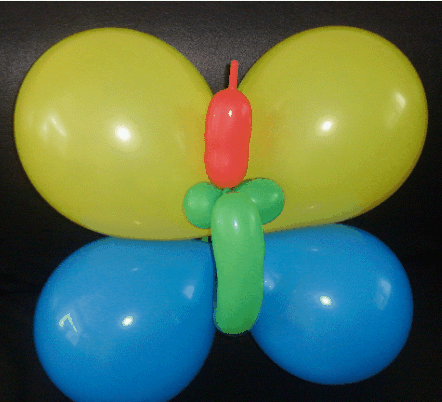
Now we
have finished the butterfly.
I hope
that you have enjoyed making this figure. It is a pretty fugure.
You can
use it to decorate an event, I'm sure it will be successful.
I hope
you practise at home and that you enjoy making it.
Let's continue
with the course.
Let's make
another figure....continue with us.
|