THE
DETAILS
The
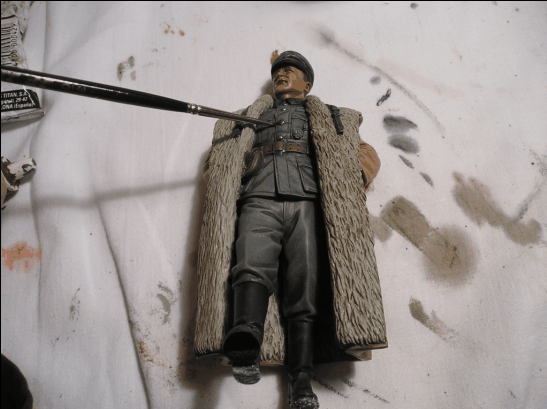
next step is to paint the details. In our case these details are:
-
The buttons (in metallic grey).
-
The buckles (in metallic grey ).
-
The medal and the iron cross (black 950 and metallic grey).
-
The cartidge belt (leather brown 871)
-
The army jacket collar (greeny black ).
-
The badges on the collar (metallic grey).
-
The chest band (black, white and red).
The
first step is to paint the buttons. In other courses I talk about
the types of uniforms that German soldiers wore in the Second World
War. The uniform that the capitain is wearing represents the uniforms
that were worn in the first couple of years of the war (otherwise
known as Blitzkrieg). In this era the army jacket had five buttons,
later it has six. The colour that we are going to use on the buttons
is metallic grey, but please be careful not to paint the actual army
jacket, which we have already finished.
.

.
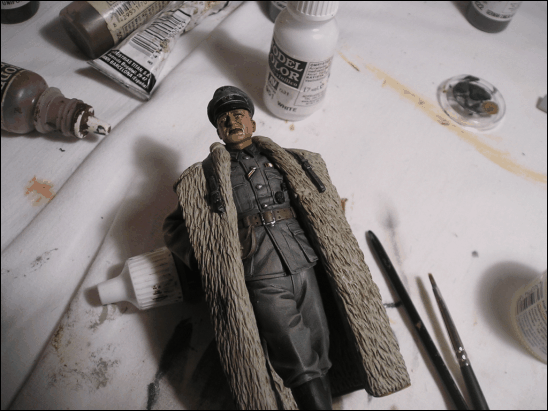
In
the next photo you can see how I have painted the jacket collar in
greeny black (980) (this is another one of the characteristics of
the uniforms from the first part of the war, later all of the uniforms
are in grey) and the collars metallic grey.
Also
paint the chest band: background black (950), with the inside in matte
white (951) and a fine line in the centre using matte red (957).
You
will also see the belt buckles have been painted in metallic grey
and the two decorations in black (950).
.

.
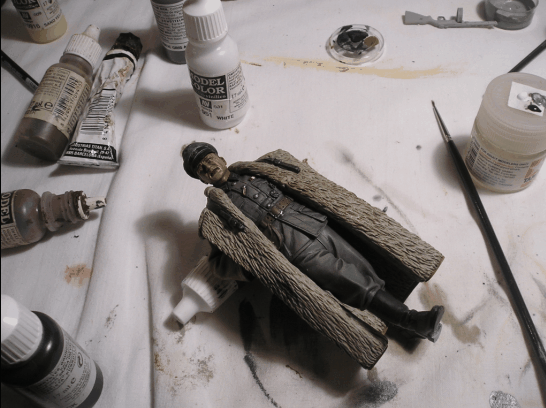
We'll
paint the cartridge belt in the leather brown colour (871) and then
we will brush the area with the dry paint brush with beige brown.(875).
Finally
dry brush with the metallic grey colour on the badges that are on
the left pocket.
.

.
Now
all that is left is to add some shadows to the areas which separate
the different items of clothing. We'll do this in the next lesson.
.

