Creating Relationships
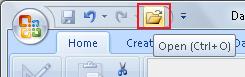
The first step is to "Open" the Data Base
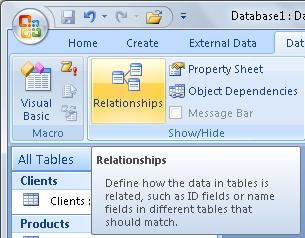
Once our Data Base is open, we click on the "Relationships" icon.
The first time, the window will be empty. On it, we will see the window for "Show Table".
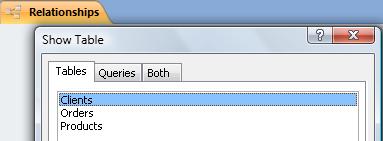
To create a relationship between Tables, first, we need to select (add) one of the Tables we want to relate. We mark it and click the icon "Add". Then, we select the other Table and select "Add" again. Then, we click on "Close". We will relate the "Clients" and "Orders" tables.
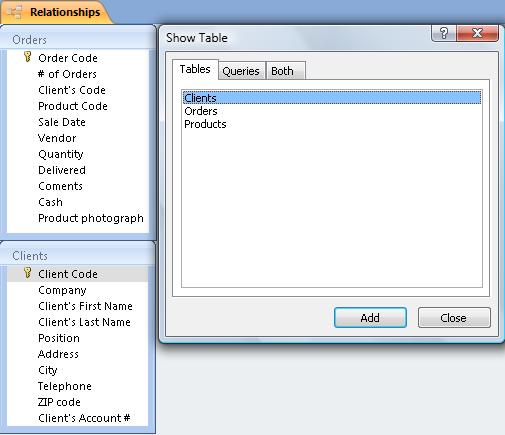
To create a Relationship between 2 Tables, we need to click and drag the field we want to relate from the "Father table" to the corresponding field in the "Son Table". In this case, we will relate the "Client's Code" field form the Father table, to the "Client's Code" field of the Son Table
After we drag the "Client's Code" field from the Client Table to its equivalent field in the "Orders" table, a new dialog window appears:
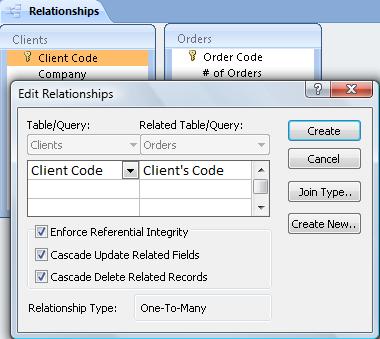
In the upper part, we see the Tables and Fields which form the relationship. In the lower portion, the characteristics of this relationship are defined. We will see them in the next Lesson.

