Design View for Forms II
To insert the Label, we need to click on the Label icon found in the Controls sub-menu of the Form Design Tools.
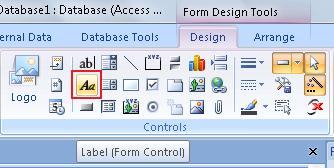
This tool creates a Label for us. Labels are used to include explanatory Text in our Forms.
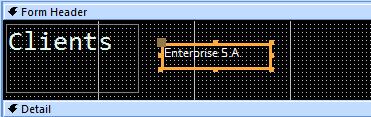
After we click on this icon, we can place the Cursor (you will see a letter 'A') wherever you want the label to go. Since we are re-designing the Header of the Form, find a place where you want to see the name of your company and click on it.
Type in the name of your company. Remember this is not a "Access Design Course". In other courses, we will learn how to modify the font, colours and other things in Access. You'd be surprised at the results we can achieve.
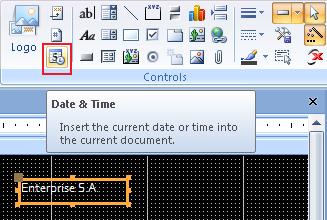
Now, we will insert the Date on our Form. With this, we will get the date in which the Form was created. This date will be the current date in our computer. So, if the date in our Computer is wrong, we will get a wrong date.
This function is used by clicking on the "Date & Time" icon.
The same as it happen with our "Label", with "Date & Time", we will get a window we can manage in size and we can move it to wherever we like. Here, we won't have to type in anything because, as we mentioned before, it will have the current time of our computer.
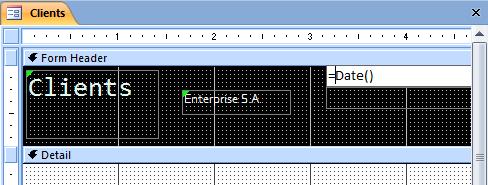
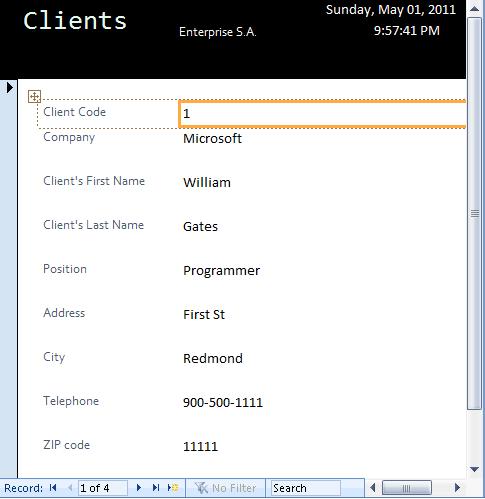
This is the result. Notice the changes in the Header.
In the same manner, we can add information on the Footer, such as foot notes, page numbers, and any other useful things.