Design View for Queries
Now, we will modify our Query from the Design View. We have already seen the power of Queries created by the Wizard. However, this might not be enough to fulfil our needs. In queries, we can use the entire information a Table has. However, we can also select only some information in a Table. We can limit it to only the Records of a specific Client, for example. We will learn how to do this while we learn how to use the Design View.
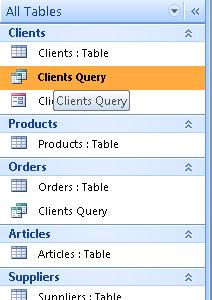
First, we select the Query we just created.
Then, we select "Design View". This is the Design View for our Query.

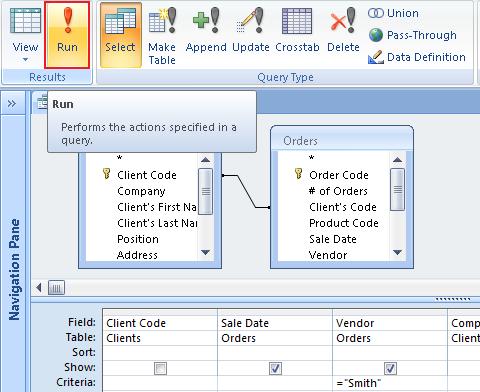
As you can see, this window is divided into 2 section: the upper part shows the Tables included in our Query as well as the related fields.
In the lower section, we have the fields included in the Query. On the second row, we can see the Table they belong to.

In the "Criteria" row, we see that we have specified we want to show the sales carried out by the vendor "Smith" in our Query. This means we can apply logical conditions to the fields to limit, define or widen the power of our Queries.
On the other hand, in the row "Show", we indicate the fields we want visible after we Run the Query. This doesn't mean we will exclude the Data of the Client's Code in the Query; it simply means they won't be visible.
To execute our Query, we simply need to click on the "Run" icon.
This would be the result for our new Query: