Creating Queries in Design View with several Tables
In this Lesson, we will learn how to create Queries with several Tables. Almost everything we will see in this Lesson, we have already used throughout this course. Therefore, you will find many of the actions familiar. However, we will see everything in an organized and step-by-step manner.
We will use an example: we want to find out the Client's Code, his Last Name, the Order Code and the Sale Date. To do this, we need to manage the "Clients" and "Orders" Tables. The first step would be to create the Query. This time, we will use the Query Wizard.
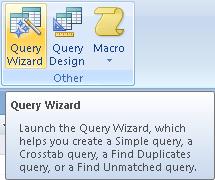
But first, we go to the Other sub-menu under the Create menu.
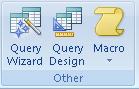
We will choose the Query Wizard option. Later on, we will modify it if necessary using the Design View. We choose the "Simple Query" option.
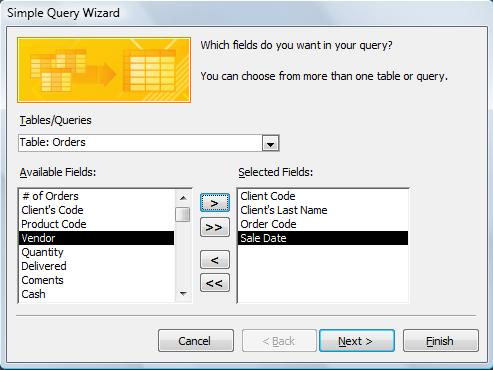
First, we select the Table from which we will choose the fields. As we mentioned previously, from the "Clients" Table, we will need the fields "Client Code" and "Client's Last Name"
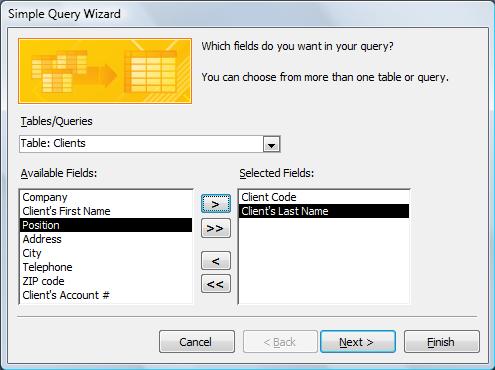
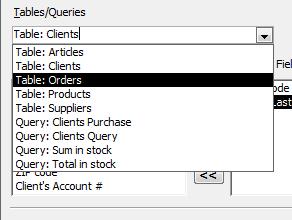
Then, without leaving this window, we change our table and we select the fields we need from the "Orders" Table . To do this, we choose the table "Orders" from the "Tables/Queries" field.
Now, we just need to add the fields "Order Code" and "Sale Date" to the list of Selected Fields, in the same manner as we did in the previous table.
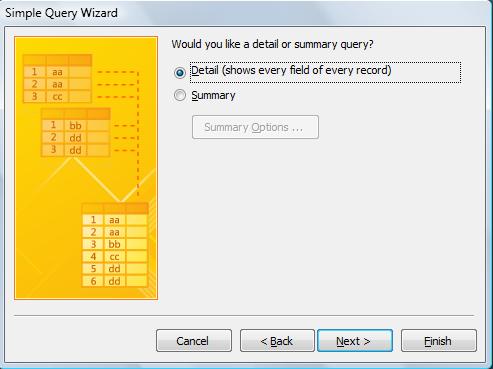
Now, we click on "Next". In the following window, which we already know, we select the option Detail, since we want to see all of the fields, and not a mere summary.
Before running the Query, let's take a look at the Design View.
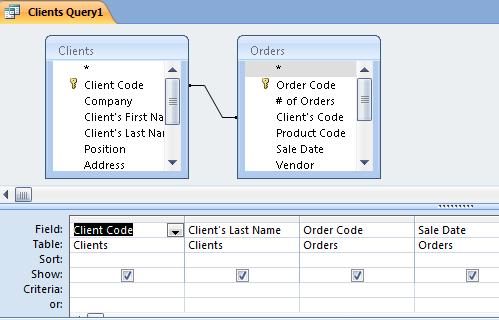
In this window, we can see the fields that will be shown (marked slot in 'show'). In the upper part, we can see the Tables we used as well as the relationship between them.
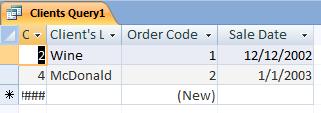
After clicking on "Run" this should be the result.