Saving our tables II:
In the previous lesson we saw the table with a defined Primary Key.
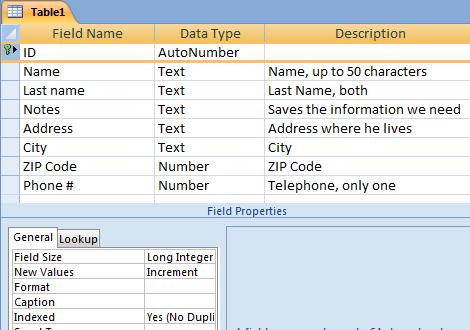
As you can see, a new row has been added at the beginning of the table. This is the "primary key", which we will recognize by the icon that looks like a key.

The default name for the "primary key" field is "Id". We can change this name with any name we want. There is also something else that is new: the Data Type is defined automatically as "AutoNumber". We will learn what this means in the future.
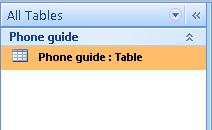
When we save it, a table with the name we previously chose will appear in the "database" box or window. In our case, with an original touch, it is called "Phone guide".
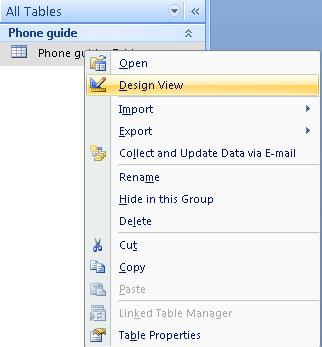
After creating and saving it, we might need to modify it, either adding or deleting fields or maybe we find out that the length of a specific field is not enough for our needs. Can we modify a table after it's been saved? Yes, and it is quite simple. We just need to click on the right button on your mouse and choose the option "Design View"
This will bring out the design window we have seen previously in past lessons. In it, we can modify our table to our needs until we are satisfied with the results.
In the next lesson, we will begin adding data.

