Indoors light
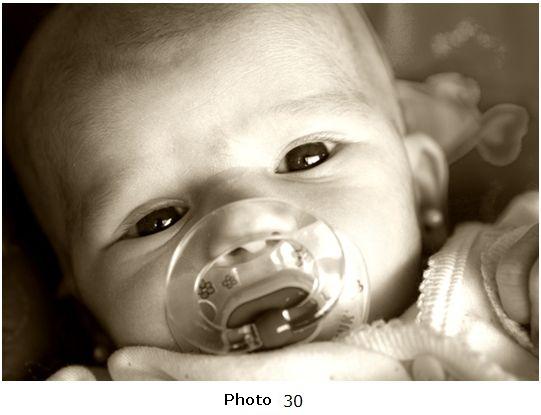
In this picture, I also used light coming from a window. The baby is not in front of the window but next to it. As a result, you can see some shadows were formed on the left side of the picture.
I also wanted to get a higher contrast to add depth and texture to the photograph. I definitely didn't want a flat picture. So, I used a reflecting surface to fill her shadows.
When we use light from a window, we can control the direction in which light reaches the subject. We can place the subject or object in front of the window, next to it, or with its back to it (counter light). This is a personal choice depending on the illumination you want to achieve. If we placed the subject in front of the window, we would get a flatter image than if we placed it next to the window.
In the third course, you can see some examples (Example 2) of the way the model changes if placed in front of a window or next to it. In that example, we can also see how we fill shadows using a white surface and a golden surface.
As you have probably figured out already, there are plenty of options available, , whenever we want to shoot a photograph . We have just covered some of them. The important thing is to take many pictures and experiment with different light settings. Consequently, we will learn how to look at, analyse, and control light to achieve impressive pictures.

