Table Options
We continue with the different available options for cells
Space between cells.
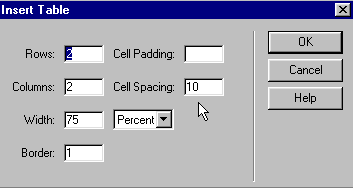
We will begin this example by creating a table with 2 columns and 3 rows. We also want some distance between cells. For example, we can use this to separate the text or the images which we will place in them later.
- We create the table by clicking on Insert and Table.
- In the box, we type in the number for "Cell Spacing" which will define the size of the separation. In our example, we have typed in 10 to leave 10 pixels of separation.
And this is the result.
If we write our text in the cell, this will be the result:
| If we type in our text, it'll be encased in this cell. |
We can write on different cells. |
| |
|
Cell margins.
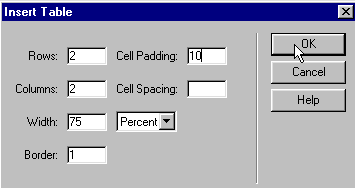
If we want the text or the image we insert in our cells to be separated by a line which limits the cell, we use the option "Cell Padding".
- We click on Insert and Table.
- In the box that appears, we assign a number to the Cell Padding option to create a margin within cells.
This is the result. Notice how the text Notice how the text has been separated from the lines that limit the cells.
| Here, I'm writing the text separated from the lines that mark the cell. |
|
| |
|
Changing the size of the table and cells.
We will use the following table:
To modify the size of the table keeping its proportions:
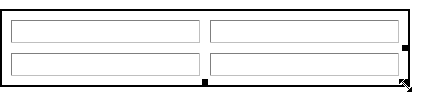
- we select the table.
- we place the cursor on the corner.
- we click and drag the mouse keeping the button pressed, just as you see in the image below (notice the two-headed arrow on the lower right-hand corner):
And this can be the result:
Modifying the width of the table.
To modify the width of the table, we place the cursor over the black square formed after we select the table. We will use the following table:
- we select the table and we place the cursor on the black square (see the image below).
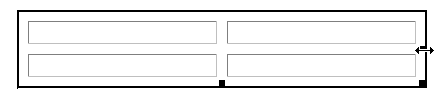
- By clicking and dragging the mouse, we modify the table to a desired width. In our example, we moved the mouse to the left to reduce its size. And this is the result.
Modifying the height of the table.
Let's imagine we need our table to be higher. A simple way to modify this is to place the cursor on the edge of the table or cell and we click and drag the mouse until we reach the desired height.
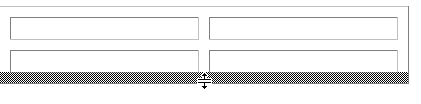
As we click on the button on our mouse (and keep it pressed) and we move the mouse down, we modify its height. This is the result:

