Layout View
We can activate this view from the Objects floating menu. We activate it by clicking on Window and Objects on the toolbar.
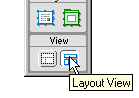
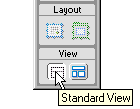
On the lower part of this panel, we will find the buttons to be able to switch between the Layout View and the Standard View.
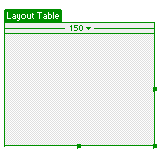
Once the Layout option is selected, we select the icon which allows us to draw tables (just as you see in the image below).

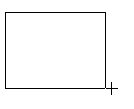
Place the cursor over the point where we want to place the table. Pressing and keeping the button on your mouse pressed, we move the mouse to define the size.
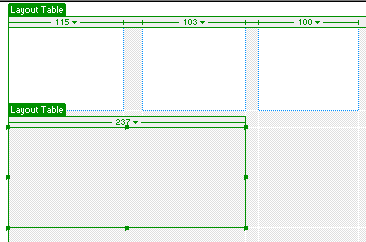
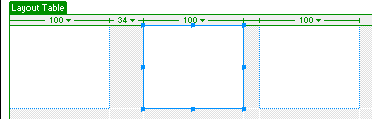
We can trace cell inside a table and even outside a table and the program generates the table which will contain the cell.
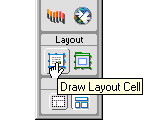
We place the cursor where we want to place the cell.
. 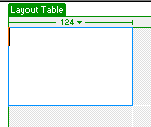
We can easily modify the size of a cell by clicking on the line and keeping the button on your mouse pressed, we move the mouse to define the size
Another option to modify the size of the cell is to use the floating menu, just as you see in the following image:

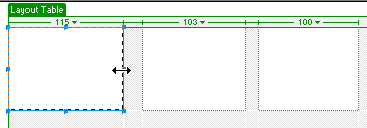
In our example, we have modified our cells fro them to have a width of 100.
A quick way to form several cells is to use the Control key.
Many web pages are organized by tables within tables. We can insert a table within another table to organize the contents and easy the design task.