Pages with frames.
By using Frames, we can divide a page into several areas. This way, we can manage different zones independently. For example, we can allow a portion to change in function to the links we click while the other portions remain unchanged. Let's imagine we want the left section showing an index with links to remains there while the rest of the page changes.
- We activate the Objects menu. It might already be active.

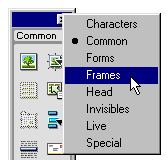
- This brings up the Objects window, which will probably be set to the 'common' menu. We change it to the Frame menu. We click on the triangle next to the word 'Common" (see image below). and we select Frames from the options.

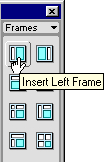
- On this menu, we can select the Frame we want. In our example, we will choose the first option to get a vertical frame to the left.
This will divide our page, as you see in the image below:
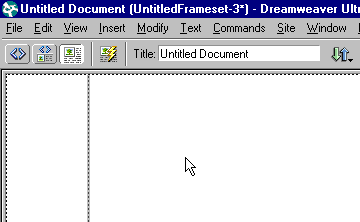
The image above shows the page divided into a frame on the left and the rest of the page to the right. We can modify the width of the frame by simply clicking on the division line and dragging the mouse (just as we've learned in previous lessons).
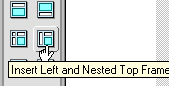
As we create the previous frame, 3 files or documents are generated: 1 containing the frame, 1 for the rest of the page, and another one containing the structure of the page. If we create 2 frames, 4 files would be generated: 2 containing the frames, 1 for the rest of the page, and another one containing the structure of the page. In the following image, we show you the icon that generates 2 frames: one on the left and one on the upper portion.
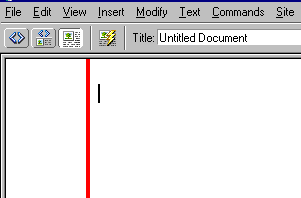
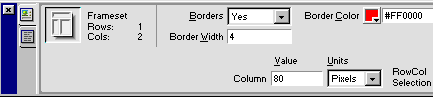
We can modify the characteristics of the frame. In the following example, we will make the division visible. We will define the size of the separation line and we will select red for the colour of the separation. In Borders, we change it to Yes; in the Border Width, we will type in 4 and we select Red for the colour.
This is the way it will look in the Design View: