
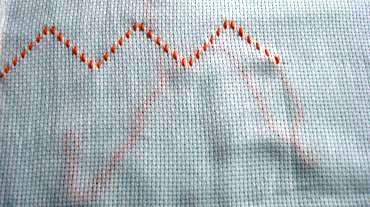
border with running stitch forming peaks
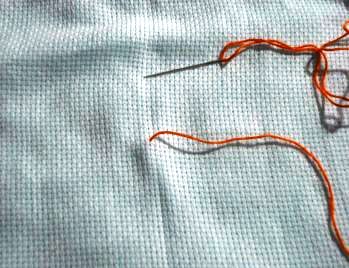
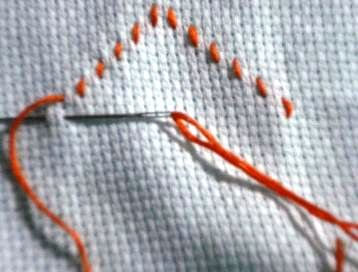
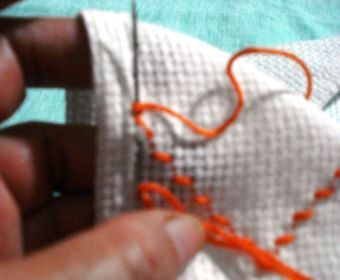
We begin at the centre of the fabric inserting the needle through the back towards the front.
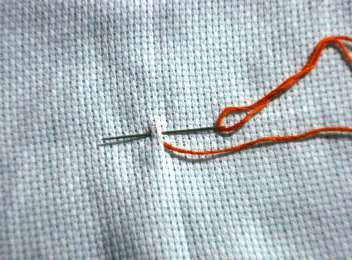
We make the first basting stitch from bottom to top, sliding the needle between the weave of the fabric
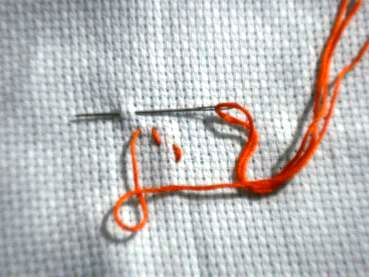
We continue escalating the basting stitches, leaving 2 spaces as we go up between one stitch and the next.
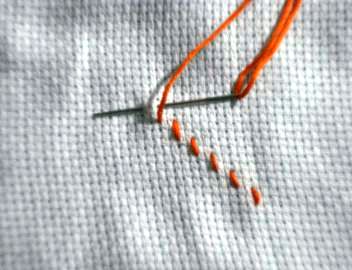
Notice that this embroidery is done in an escalated manner (going up or down). We will work on 6 stitches going up.

Then, we go down 5 stitches
Thus, we will form the first peak (or triangle) shape.
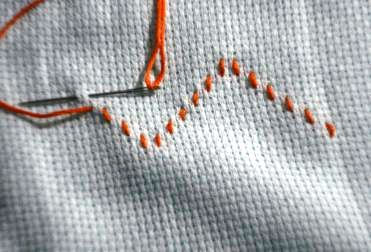
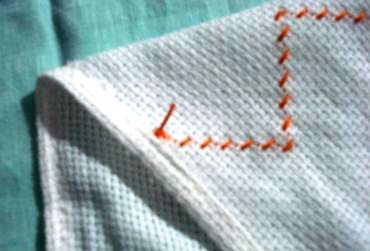
We continue embroidering in the same way until we finish the turn as we reach the desired length.
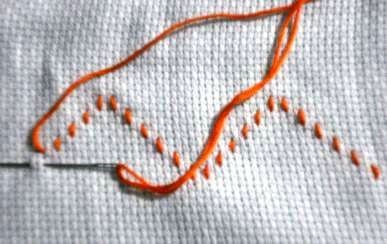
We continue embroidering in the same way
This will be the end of the first part of this row
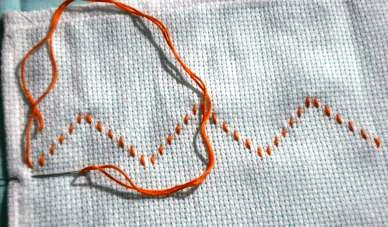
After we finish the turn, we grab the thread and we cut it like we see in the following image.
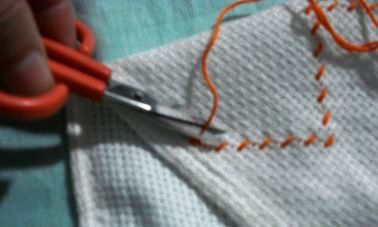
This is the way we need to secure the thread (tie a knot) for the embroidery not to come apart.
This is the way the first part of the border we have embroidered looks, starting from the central point.

