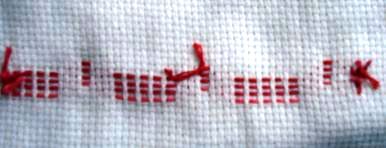
Border embroidered with running stitch worked as a mirror
We will embroider the last row using a soft pink thread, repeating the previous steps.
We continue embroidering
We continue embroidering until we finish the row
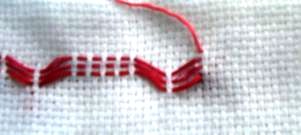
We finished embroidering the first part of the border
We turn the fabric around, we grab the thread and we cut it.
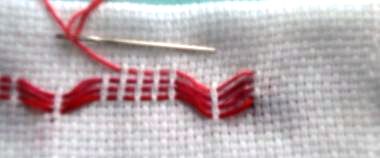
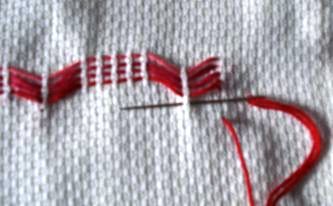
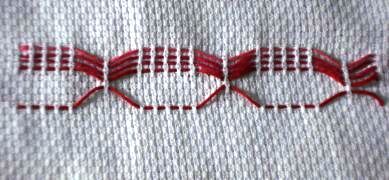
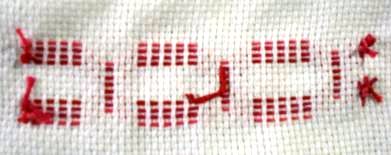
We will complete the design by embroidering in a mirror form, in other words, we repeat it but in an inverted manner. We will count 5 spaces starting from the first stitch we made. At this location, we will pull out the needle out with a red thread. We will embroider the same design.
Notice that the first row (embroidered in red thread) is forming the baseline for the lower part of the design.
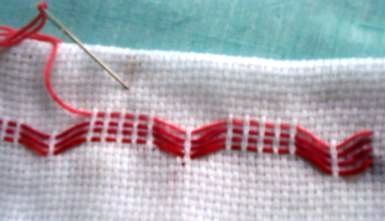
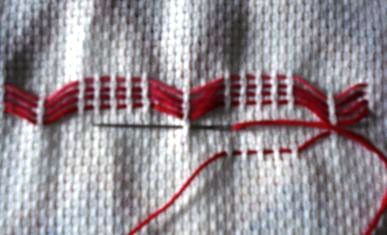
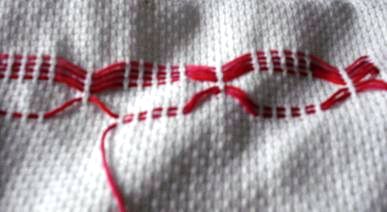
We continue embroidering
We finish the embroidery of the first lower baseline.
video
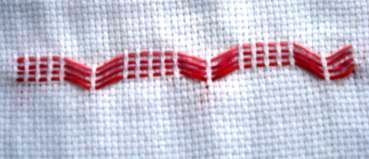
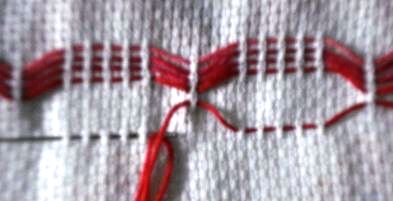
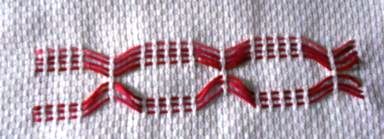
We will make the second and third row at the lower base with a dull pink thread following the base design.
Video
Here, we show you the lower second and third rows finished.
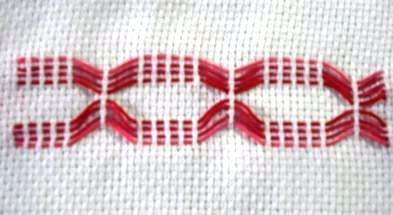
We will embroider the fourth and last lower row with a pale/light pink thread.
We turn the fabric over, grab the thread and cut it. Notice how the back of the embroidery looks.
After we finish embroidering the border, you will notice the harmony of the different colours we have used.