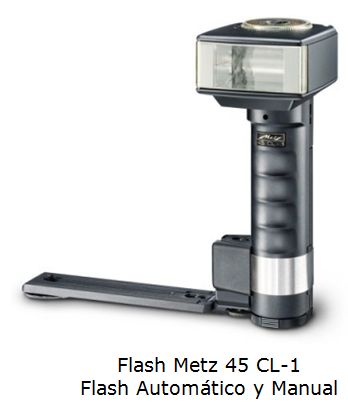
In the above photo you can see a Metz flash as seen in Table Manual.
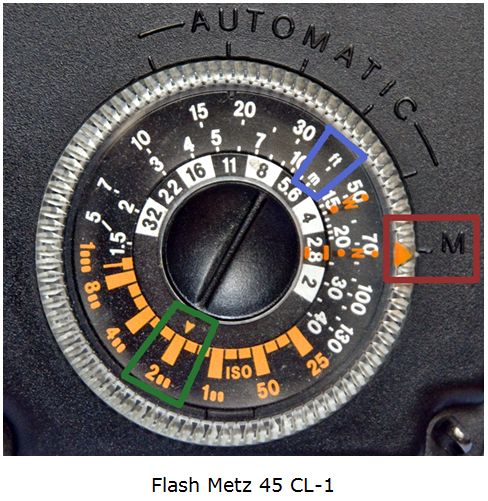
In the red box can see the M Manual and an orange arrow. For use in manual I have to turn the arrow until it matches the M.
In the green box can see the ISO and how it is put in ISO 200. Also I have to turn the orange arrow that you see in the frame to match the ISO I want to use.
In the center you can see the diaphragms ranging from f/32 to f / 2 and above the table of distances. In the blue box can see this in meters and feet (ft).
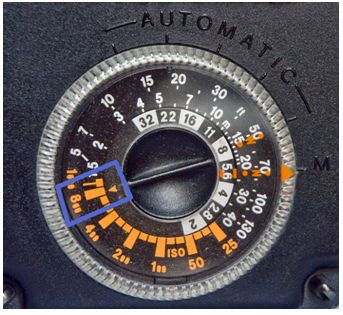
Once I decide that I will use diaphragm noticing that I have to I have to put away.
If I decide to use f/5.6 for example I have to put the flash to 11 meters from the main subject I want to illuminate.
If I put the flash closer the object is going to come out overexposed or whether they will receive too much light. If I put the flash farther away, the object will receive little light and will leave sub-exposure.