We will work on a new document, trying to imitate the example model we created for this course.
The first thing we need to consider is the background we will use. By default, we will have a white background. Although we can change this later, it is important to consider that the background is the base upon which we will draw or place a design. In the case of the Example, we noticed that it had a background with specific characteristics and another background was added for the final result.
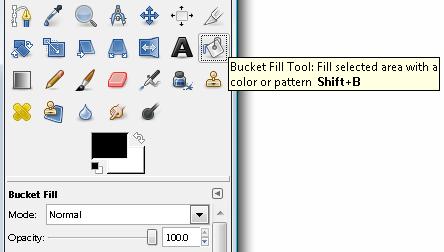
Therefore, we will begin by seeing the background filling possibilities. We select the Bucket Fill Tool, and we will get different options.
First, we need to consider the type of filling we want to use.
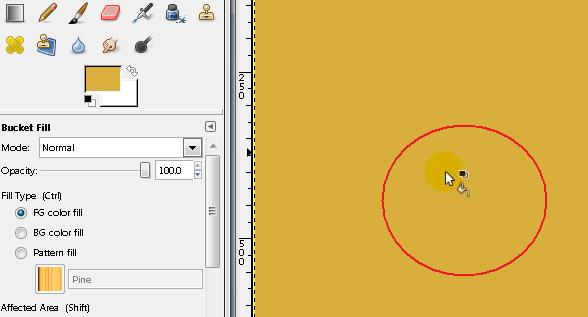
As you can see, the FG colour fill is selected. This means it will fill with the colour found in the upper rectangle found in the tools area.
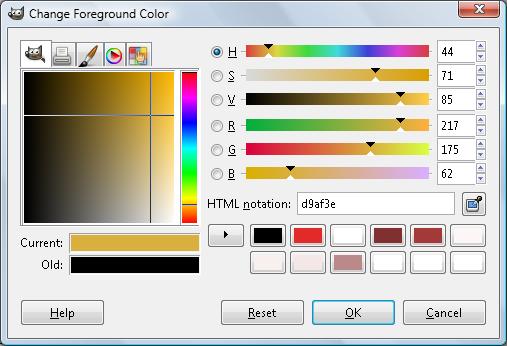
If we click on this square, we will get a new window with the colour options. We can choose one by clicking in a zone within the colour or by using the different horizontal scroll bars found on the right.
Although there are other tabs with more options, we will only see these at the time being.
Once we have chosen our colour, we go to our working space. We will notice the cursor has the shape of a Paint Bucket.
Finally, we click on the space to fill it out with the colour we chose.