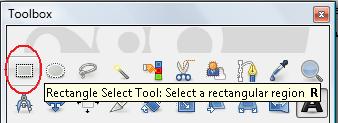
In this lesson, we will learn how to use the select tool. We have different variants to select a portion of an image or element and then work on that selected portion individually. We will begin with the rectangle select tool.
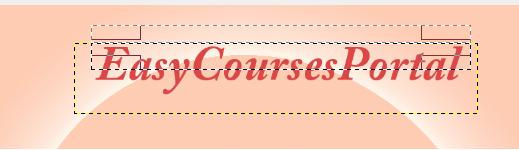
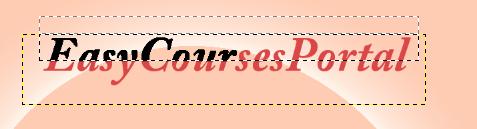
A select tool works mainly on a chosen layer. In this case, we have first created a text layer in the same manner as the Example document with the title EasyCoursesPortal. We select the EasyCoursesPortal layer. Now, selecting the rectangle select tool, and dragging, we will select a portion of the text.
The active line of dots will indicate the selected area. Any action we perform will affect that selected area.
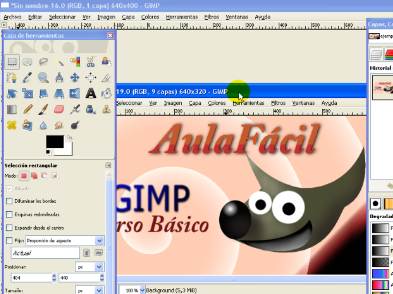
On the Example document, we see that the title EasyCoursesPortal has 2 colours in it. This was achieved by using a select tool and the Bucket fill tool.
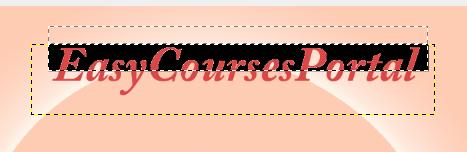
Now, we select the bucket fill tool and we fill. Make sure that in the options, the option of 'fill similar colours' is selected. This way, depending on the place of the cursor, we will get the results we are looking for. For example, if we locate the cursor outside the letters, this will be the result:
Since we want to fill the letters, we undo the action and we fill again. This time, over the letters.
Remember that the filling will happen over adjacent pixels, so we will fill letter by letter.