Guide Lines
Something we need to point out is the distribution of the elements inside the working area. Whenever we are working on a design, we need to consider we must maintain a proper element distribution. We can use guides to help us in this task. This allows us to have a better control or our work.
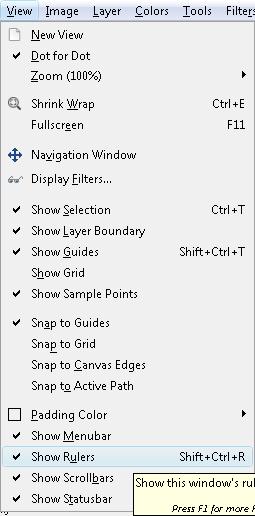
By default, the ruler is active. If not, go to the View menu to show the rulers.
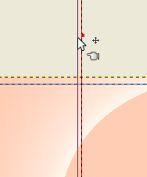
To place the guides in our working space, we need to take the cursor to the horizontal or vertical ruler. Then, click (and keep the button pressed) then drag the mouse to your work space.
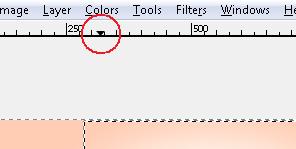
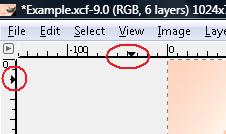
We can use the black triangles found on the rulers to place the guide lines better. We can use as many as we want. This will depend on your need.
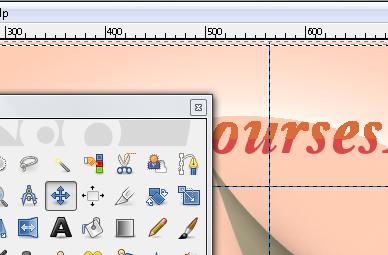
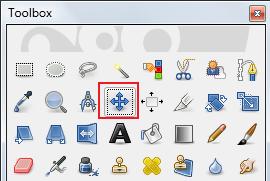
We will try to place a frame around our banner. We will place 4 Guide Lines, 5 pixels from each side around the image. In case we want to change their position after we have placed them, we need to use the Move tool.
Then, we choose the option Layer, and select the option 'Pick a layer or guide'.
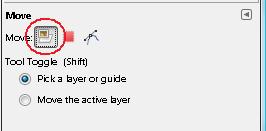
Now, we can move them wherever we like.
Watch Video

