Colour correction with Curves
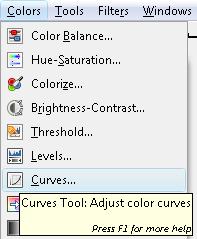
In the same way we corrected with the Colour Balance function, we can also correct any photograph using the function Curves, in the Colours Menu.
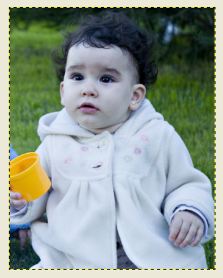
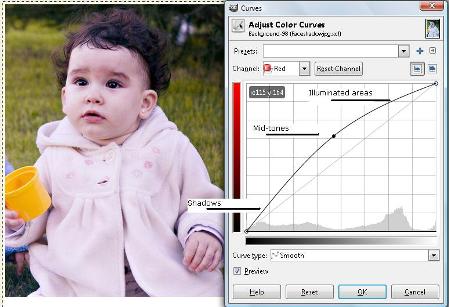
In this case, we have a picture taken under a shadow, which gives us a general blue tone.
Whenever we use this function, we need to consider that it has values for both the tone and contrast for every colour and for each one respectively. This is a very complete function but it requires a higher knowledge to understand all its possibilities.
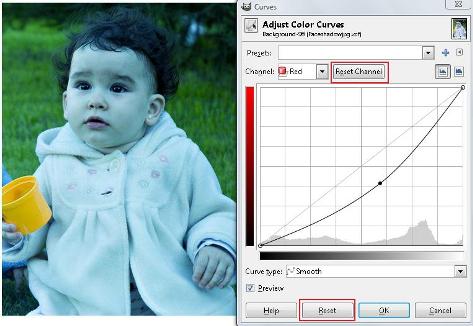
With the purpose of fully understanding this particular correction tool, we must select a colour from the Channel sub-menu. We will choose Red first and we notice the result by clicking and marking a spot in the grid. This point can be moved to different illuminated areas, mid tones and shadows.
|
When we move the point above the initial diagonal line, it will add the Channel colour (red). On the other hand, placing the point below this line will remove this colour.
In case we are working with this function, and the result is not what we were looking for, we can go to the channel and reset the channel. In the same manner, we can reset the entire process by selecting the option 'Reset'. |
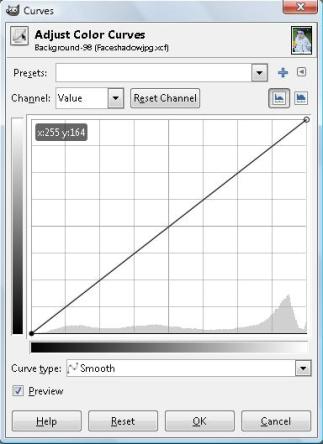
We can also select the Blue Channel to get a pink tone skin or at least to add more yellow to the skin tone.
Watch Video