|
|
|
|
Creating a Document
Now, we will begin working on a document. Let's not forget that this program will help us for both drawing as well as working on existing images and pictures recognized by the program.
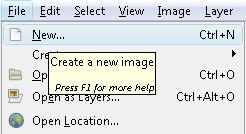
Let's create a new document. To do this, we will go to the File menu and select New.
We need to bear in mind that the characteristics of images will vary in size and resolution. One image, in case you haven't heard or read, is composed by thousands of cells or pixels.
|
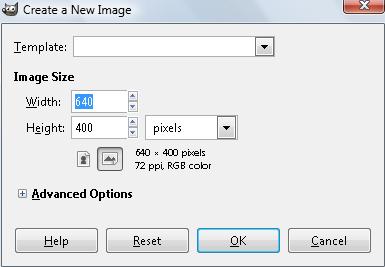
A box will appear for us to configure the space we will be working on.
When we are considering a specific size, we need to be able to recognize the final measurement of our work.
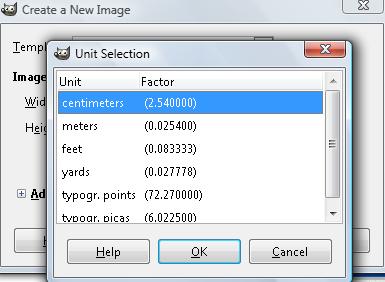
Whenever we work on a document for a computer or to upload it to the internet, it will be better if we know its actual size in pixel units. In case we need to print it, we need to know its size in centimetres, inches, etc. In this box, we open up this menu to be able to change the units we need. |
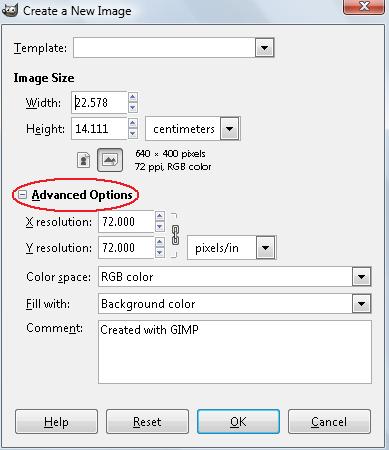
It is also important for us to know about the resolution of our work. In Advanced Options and using the 'plus sign', we will see the options we have available.
As you can see in this image, our resolution is 72 ppp, which means 72 pixels per inch.
The possibility of changing the resolution of our document is independent from its final size. |
 |
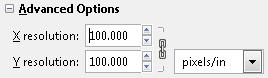 |
For example, by changing it to 100 ppp, it means that instead of having 72 pixels per inch, it will have 100 and thus, its quality will be improved.
Moreover, this will increase the 'weight' of the file since it will contain more information in it because we add more pixels. |
Watch Video
|

