Using The Zoom Tool
We are ready to work on our document. Now, we will learn to use one of the most common tools in Gimp: the Zoom Tool. Since we will be working on a single image for some time and we will also wok on sections of that image, this tool will allow us to enlarge or reduce the viewing area of the image to allow us to work more accurately in our work zone.
|
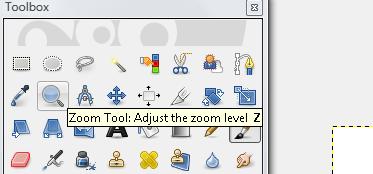
We click on the enlargement tool; commonly known as zoom.
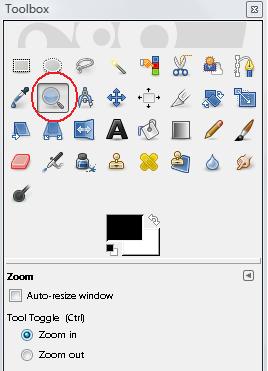
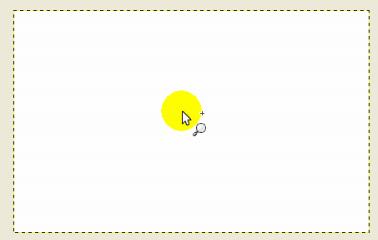
By default, we will find the zoom in option selected. If we move the cursor to the document, we will se it is represented by a magnifying glass and a plus sing. This means that every time we click with the mouse, we will see that part of the image larger.
|
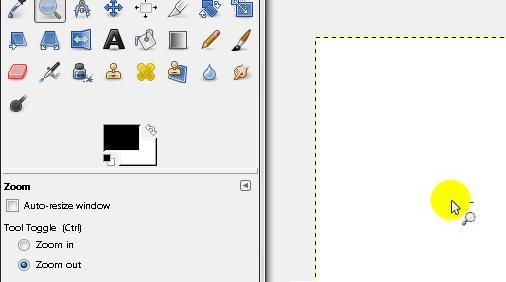
We can also reduce the image. To do this, we go to the configuration settings for Zoom and select the option Zoom out. After doing this, we will see that the plus sign changes to a minus sign. Every time we click on the mouse, we will see that part of the image smaller.
A very effective way of using this tool faster is by using the shortcut keys. In the case of the zoom tool, if we press and hold the Control (Ctrl) key, it will change the state from zoom in to zoom out or vice versa (depending on which is active at that moment). So, if the plus sign is visible (zoom in), after we press the control key, it will change to a minus sign.
Watch Video

