MORE ABOUT THE OPTION OF OPENING
Being able to access a document can be a little confusing for some people since we need to look for it in a directory and open it.
In this Lesson, we will detail the different Open options seen in the Open control box.
If we take a closer look at the control box, the area where we can find our document is located on the top.

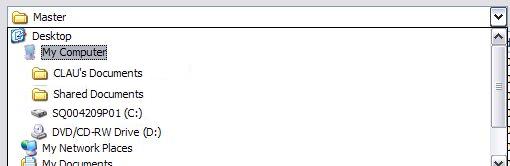
1. First, we find the space where we can look for and select the directory where our document is found. To open up this window, click on the arrow on the right of this space. This will show you the main directories on your computer. This will also show you any external devices, such as an external hard drive or a CD.
2. Next to this arrow, you will find an arrow head pointing to the left (inside a green circle). This icon means you can go back to the original location we were at, previous to our selection. In other words, when we move form a specific directory to another directory, clicking this icon will take us to the previous directory. If we continue clicking it, it will take you to where you started you search.

3. The third icon is very important too. It is represented by a file with an arrow pointing up. This icon is used to move up a level in a group of files. It will move up until you reach the root directory of your selection.

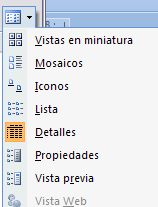
4. The files view helps you identify the document (file) you need from the rest of the items found there. Generally, the Details option is used because it contains the type of document, size, and its creation date. This is very useful since it eases the search.
(traduccion de imagen: vistas en miniatura = thumbnails; mosaicos = mosaics; iconos = icons; lista = list; detalles = details; propiedades = properties; vista previa = preview; vista web = web view)
5. It is important to know how to read the window that shows the files and document found in a directory. We are shown the name, the size, the type (if it is Word, Excel, html, etc.), the last date in which it was modified (or created if no new changes have been made from the original document).

6. On the lower part of the control box, we can see a space where we can choose the type of file we want to open. In this case, it is a good idea to select All Word Document. By doing this, we shorten the list to only this type of application.

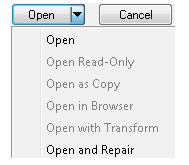
7. Finally, we find the button which gives the command of Open. With this function, we can select the way in which we want to open the file. For example, if we wanted to open it in Read-Only, we won't be able to make any changes to it.