CREATING TABLES
In this lesson, we will learn how make a table to show the information we need.
This is very useful and common in Word. Let's see how to do this:
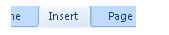
1. We click on the Insert tab in our toolbar
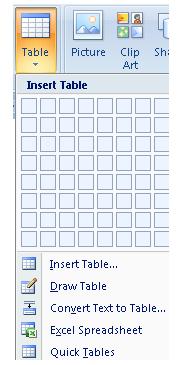
2. Click on the Table icon in your toolbar

3. This will open up a window to create our table. As you can see, there is a grid which allows you to choose the number of columns and rows we need in our table. In this example, we created a table with three columns and three rows, 3 X 3.
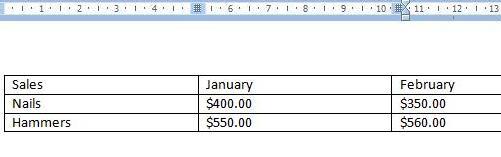
4. In our worksheet, we will see a 3 X 3 table where we can write the information we need.
5. If you take a closer look at your toolbar, you will see a new tab which opens every time we create a table called Table Tools.

6. If we click on Design, we will see many options which help us apply a better format to the table. One of the most important options is Table Styles, because Word has many pre-designed formats for the table we have created.

7. If we click on one of them (the light blue row),
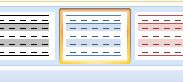
8. We will see the change applied to our table in our worksheet. Notice how the light blue row appears between two white ones to mark a difference between rows.


