MORE ABOUT TABLES
We can continue changing the format to our table to make the information more appealing. This function is commonly used in Word to present quantities or structured information in documents.
1. If we want to centre the information in our table, we need to highlight the entire

2. Click on the Centre in our toolbar under the Home tab.

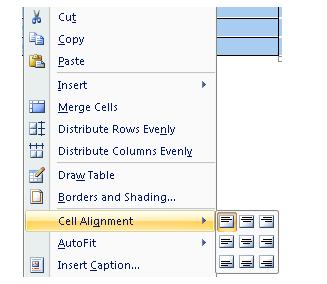
3. ANother way to do this is to click on the right button in your mouse, this will open a window with options. Locate the Cell Alignment function. This will present the options graphically. We selected the Centre option.
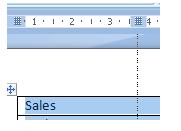
4. If we want to adjust the size of the columns to make the information more compact, we must place the cursor over the upper ruler. As you can see, there are markers showing the position of the columns in the table. Place the cursor over one of those markers to reduce (or increase) its size. The "Move Table Column" legend will appear
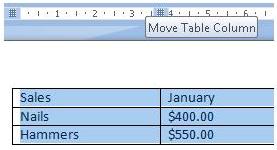
5. Click and hold the left button in your mouse over the column marker (over the ruler) and move to the left to reduce the size of the column. You will see how its size changes as you move your mouse. Once you reach the size you want, release the button in your mouse.
6. If we repeat these steps on each of the columns in the table, it will look similar to the following image:
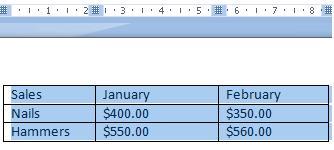
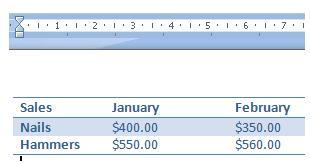
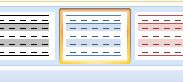
7. If we want to add a pre-designed style, select the one you want from the Table Styles menu. For example, the light blue row
8. This is the way our table looks after reducing the size of the columns and changing the format. We can use any style or size depending on our needs.