INSERTING IMAGES
Sometimes, we need to add images in Word to work as visual aid to our text.
In this lesson, we will learn how to insert pre-designed images.
a) We locate the Insert tab in our toolbar
b) In the Illustration area, you will find the different types of images or shapes which we can insert into our document.
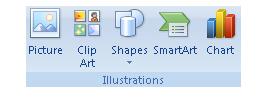
c) Click on the Clip Art icon.

d) This will open a window to the right of the screen with pre-determined images found in Word. It also presents links to browse the web if you have internet connection.
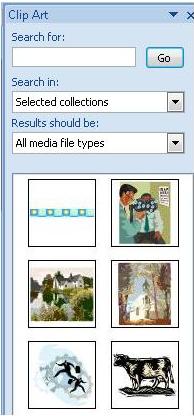
e) We select the image we want. In this example, we selected a famous tower.

f) It will appear in our worksheet.
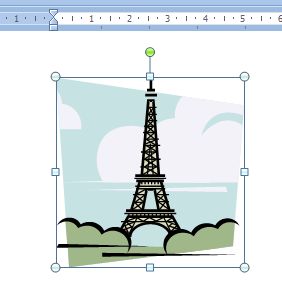
g) If you take a closer look, you will see circle marks in its corners and square marks on the sides. Each one of these marks will allow you to increase or reduce the size of the image.
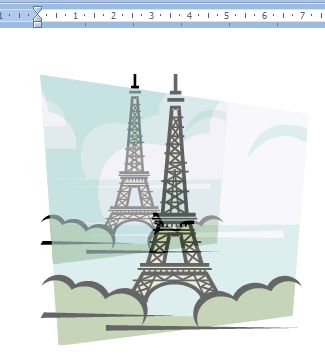
The green circle (at the top) is used to rotate the image.
For example, if we want to increase its size in all its dimensions, we need to use the marks in any of the corners. In this case, we want to increase its size so we place the cursor in the lower right-hand corner. As you do this, you will notice a double headed arrow appear.
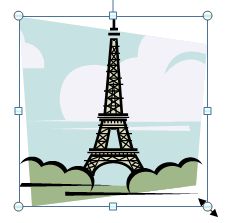
h) Keeping the left button in your mouse pressed, move to the direction you want until you reach the size you want. You will see how the image becomes larger as we move the mouse. Once you reach the size you want, release the mouse.
i) Notice that when we are working with images, a new toolbar pops up in a tab called Picture Tools. In it, we will find options to edit or improve the images and shapes we want to insert in our document.