FLOWCHARTS (HIERARCHY CHARTS)
To create flowcharts or hierarchy charts in Word, we have to follow these steps:
1. We find the Illustrations area under the Insert tab.
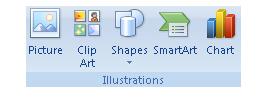
2. Click on the SmartArt button in your toolbar

3. This will open a window with available options for creating graphics
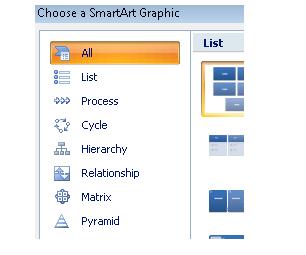
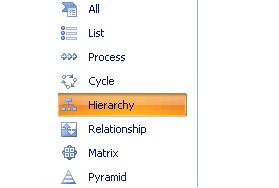
4. Since the type of graph we are interested in is a flowchart, we will choose the Hierarchy option. We click on this option and we will select the type of hierarchy chart we want to use.
5. A base flowchart will appear in our worksheet.

6. We write the information we need inside each of the boxes (levels) of our flowchart. Remember we can select the type and size of the font we want to use (since we have already learned how to do this). It's you chance to practice this skill.
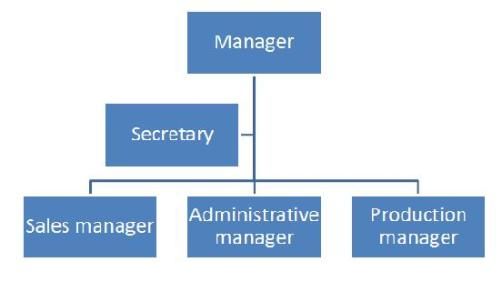
7. Imagine we want to add one more box because it is needed for our flowchart. Place the cursor below the box where you want to add the new one. In this example, it will be under Administrative Manager. Click on the right button in your mouse over this shape. This will open a window with options.
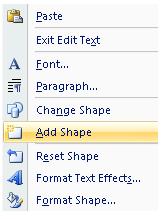
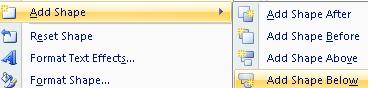
8.Select the function you want to perform. In this case, we will select Add Shape, and where we want to add this shape. In this case, we have selected Add Shape Below, because we want this new box to be shown as a sub-level.
9. This will present a new box underneath Administrative Manager.
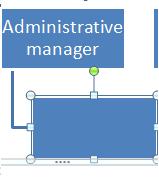
10. We write the necessary information in the new box. If there aren't any new boxes to add, we can consider this flowchart as finished.


