PROTECTING THE DOCUMENT
Sometimes, we need to protect the document we have created by restricting its use.
For example, we can share some documents with other people but maybe we don't want them to be able to edit or alter them in any way. In such cases, we can protect the file by allowing Read-only permits. To do this, we have to follow these steps:
1. We click on the Review tab in the toolbar

2. We locate and click on the Protect Document icon.
3. This will open a window with document protection options. If you take a closer look at the image, it is set at Unrestricted Access. In other words, other people can access the document and edit it.
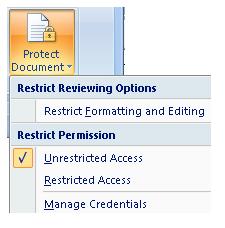
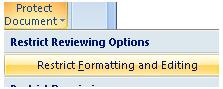
4. Since we want to restrict editing access to the document, we click on the Restrict Formatting and Editing option.
5. On the right, a window with options will appear. What we want is to restrict editing access. In other words, people who can access the document, won't be able to change or alter it in any way.
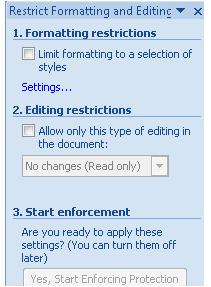
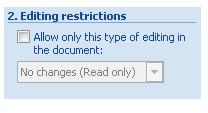
6. We select Editing restrictions, and as shown in the image below, the only access allowed will be Read Only.
7. If we want to apply this type of protection, a new window will open where we can write a password which will allow editing access to the protected file.
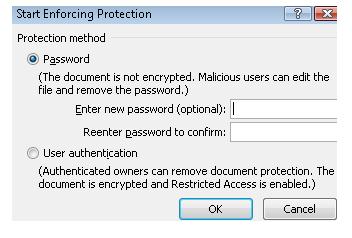
Finally, we click on OK and our file will be protected against editing.


