A final look at plugins, setting up Contact Form 7
In Lesson 21 we downloaded and installed Contact Form 7. But just like Akismet our anti-spam plugin, we must first activate it before we can use it.
With the plugin files in the correct directory (/wp-content/plugins/), either placed there by WordPress or manually via FTP, we'll see the plugin listed in our Dashboard.
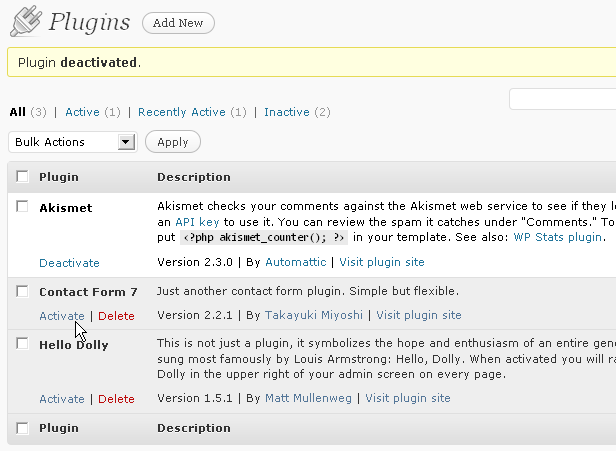
Along with Akismet and Hello Dolly (which you can now safely deactivate unless you are a huge Louis Armstrong fan), you'll find "Contact Form 7" listed. Click "Activate". (You'll see I've deactivated Hello Dolly in the screenshot)
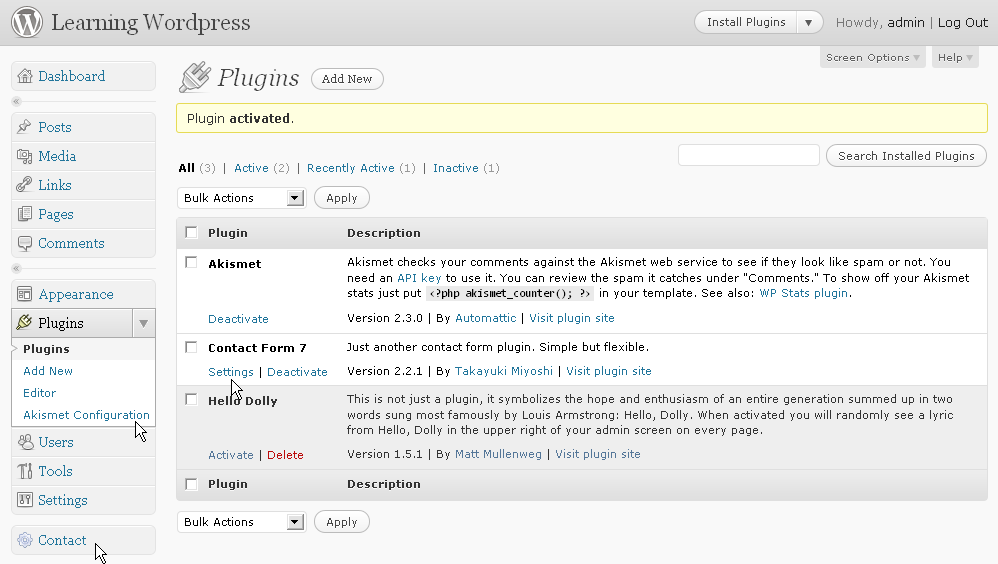
Once activated, take note of a couple of changes that have occurred, both from this activation and the previous activation of Akismet. Remember, plugins expand WordPress, so it is only natural that they expand the WordPress Dashboard with additional options and settings pages.
It is up to the creator of the plugin where these settings pages go unfortunately, so while you see Akismet's configuration options located within the "Plugins" menu, Contact Form 7 is given its own section below "Settings" and also a link on the "Plugins" page. Other plugins might place their configuration options in "Tools", "Settings" or elsewhere.
We need to look at the Contact Form 7 page, and we have two routes of entry, click one of them.
As mentioned in the previous lesson, Contact Form 7 allows us to place web forms on our posts and pages so that people can email us. It's a good idea to replace your published email address with a form to protect your privacy, so let's do that. We already have a contact page, remember?
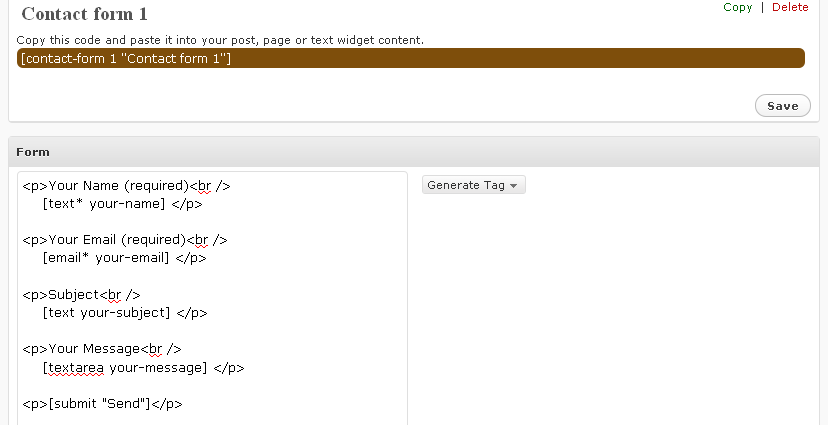
You'll see there is a default form that does everything we need it to do. Our form's fields are shown on the left, while on the right we have a tool to help us generate new fields. At the top you see the form has the name "Contact form 1" and you are given a piece of code highlighted in brown to copy and paste into your pages or posts.
Scroll down and you'll find more options.
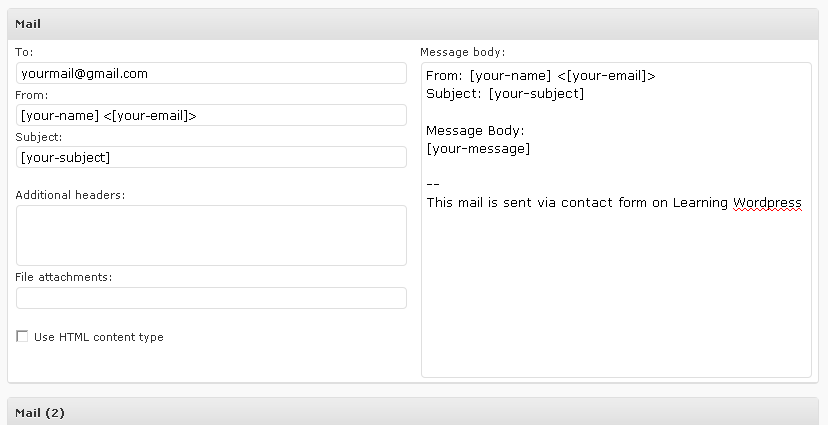
"Mail" helps us set up how you will receive the form contents to your email address - specifically what fields from the form are placed where in a standard email setup. "Mail (2)" is a second email that can be sent, not enabled by default, which can be used to send a confirmation copy to the original sender.
The various functions of the plugin can be discussed on its website, which you can access from the top of its settings page. The default setup of this one form is fine for us. Select and copy the code in the brown box by pressing Ctrl+C or right clicking and choosing "Copy".
In your Dashboard controls go to "Pages" and find the contact page you created. Edit it, or create a new page.
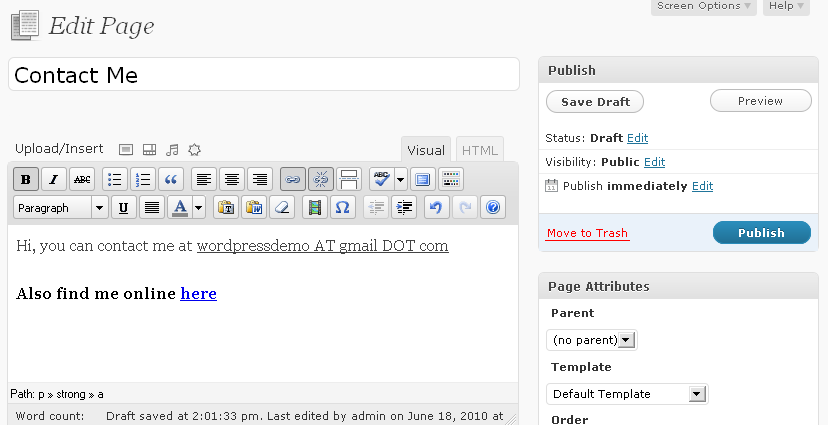
You can now replace the email address with the form. Delete the text and paste the code you have copied from the Contact Form 7 plugin.
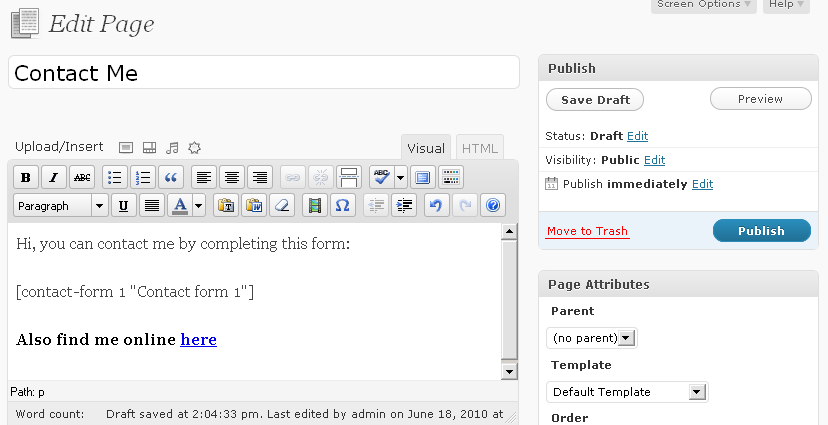
Click the "Publish" or "Update" button, then visit your site to see how it looks! Try out the form!
[See the plugin's help page for more specific guidance]

