Creating a Post
Let's start getting some practical experience with WordPress by looking at creating blog posts. In most blogs, the posts are displayed in chronological order from newest to oldest on the home page. Sometimes the posts are displayed in full one after another with all their content, sometimes just an except is shown below the title with a link to continue reading. This usually on the specific theme you have installed. You will also find the same list of posts when you click on one of the Categories, Tags or when you visit an archive for a specific day, month or year.
Some key things you should know about posts:
- Posts can be assigned to Categories, no other WordPress object can be organized like this.
- They can have Tags applied to them as an additional layer of organization
- You should not plan of publishing a Post and later deleting it. This would confuse search engines and visitors.
- Posts are automatically assigned a date of publication the moment you click "Publish", but you can edit this afterwards or even write and then schedule a post.
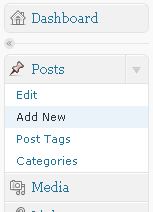
Let's have a look at the "Posts" menu in the control column of the Dashboard. You'll find it is the first one on the list. Expand it with the drop down arrow to reveal "Edit", "Add New", "Post Tags" and "Categories". We'll first create a simple blog post, afterwards we'll look at some of the more advanced options.
Select "Add New" from the menu, something that you'll also conveniently find in the header bar's dropdown list at the top of the page.
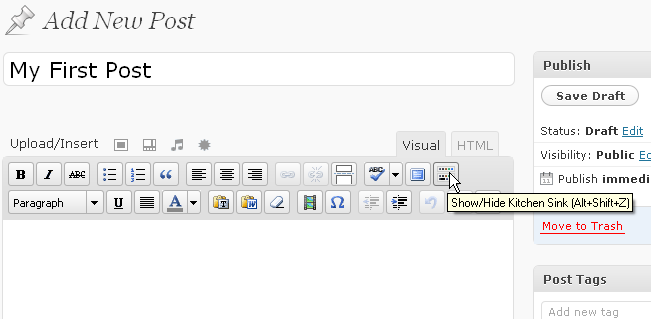
We find ourselves on the "Add New Post" page. In the first text box, create a title for the post, for example, "My First Post".
Below the title box you'll see a larger area where you can write the main body of the post. You'll see it has all the features of a simple word processor - you can select and embolden your text, you can make bullet points and you can change the text alignment. Run your mouse over the very last button. It will say "Show/Hide Kitchen Sink", a play on the popular expression. Click it and an even more advanced set of tools will be make available for you to experiment with.
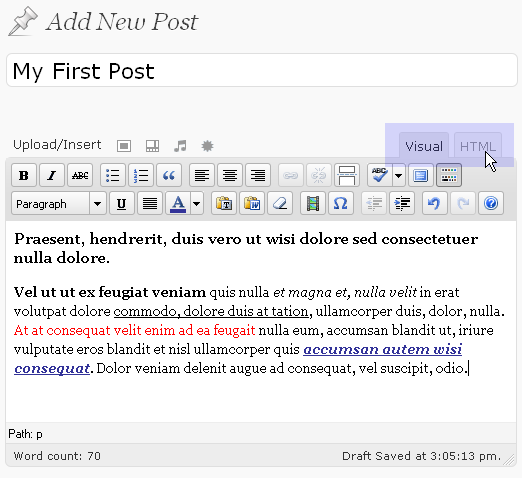
Create some text, use some of the options. When done, take a look at the two tabs stuck on the top-right of the toolbar. They say "Visual" and "HTML".
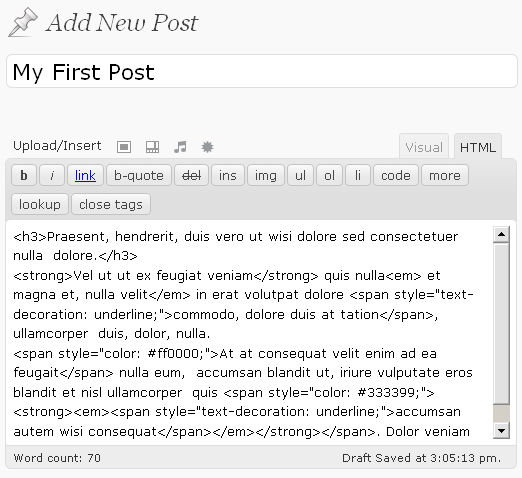
In case you didn't know, HTML is the structural code the makes up the web and defines what is placed where and how. Click this, and you will see the HTML version of what you have created in the Visual mode. Do you understand any of it? If you do, know that editing the HTML is a great ability to have as the complex Visual mode can never do 100% of the more advanced things you may want to do. If HTML is not for you, stick to Visual mode and keep things uncomplicated.
You've added a title and content. You've done the basics, but what else do you need to know before you hit "Publish"?
Excerpts and Custom Fields
 These options directly follow the main body text box, so need to be mentioned despite being very beginner-friendly.
As mentioned, with some themes, rather than showing the whole post on the main pages' lists of blog posts instead show a excerpt... just a small part of the post that entice visitors to read the rest. Some people prefer a theme that does this because it lets visitors browse through a greater number of post titles on a page at once to find what they want to read.
So the text you place in this "Excerpt" field will be used for that snippet of text. If your theme uses excerpts but you don't write anything here, WordPress will instead serve up a random part of the post, usually the least interesting part. Remember, the text you place in the excerpt body does not necessarily need to be identical to the text in the main body, something that gives you extra flexibility.
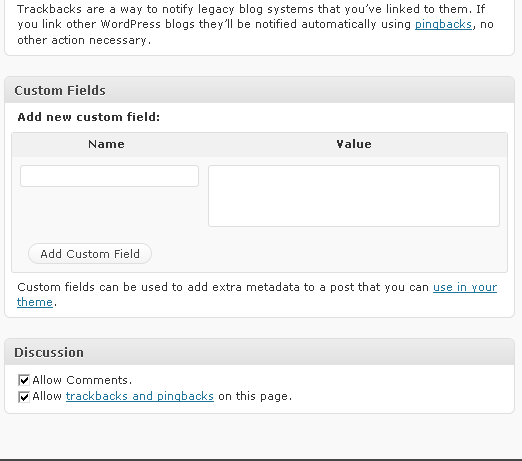
"Send Trackbacks" is used for older blog systems. There used to be a time where other blogs didn't know you were linking to them unless you specifically told them. It is unlikely you'll ever need to touch this.
"Custom Fields" is an advanced feature only used for themes that support it. Just as a Post has a title, text, publish date and more, you can also create additional fields to insert and store information. You will only ever need to use this if your highly customized theme requests it.
"Discussion" gives you the option to turn on or off the comments and pingbacks (which appear like comments) for this specific Post. You can even turn on or off the comments on a single post despite them being allowed in the system-wide configuration, and this is your chance to do so.
Categories, Tags and publishing
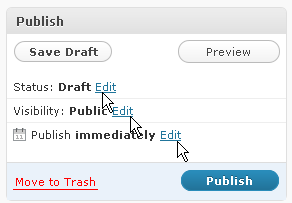 Scroll back up, next to the title box and main body text, take a look at the "Publish" box.
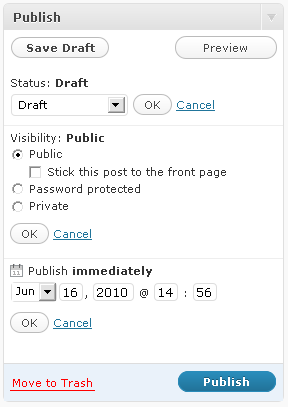
Here we have the option to click "Save Draft". Click it now.
The post is now saved (if it wasn't already saved thanks the regularly occurring and automatic "autosave" feature that works in the background while writing) in the draft posts for later publishing.
The next button is "Preview". Click this and a new window or tab will open in your browser and show you how the post you are writing will look in your theme.
More advanced options are also available. You can change the status of the post, password protect a post and lastly schedule a date and time when it will be published automatically.
But before we click Publish we must complete two more tasks.
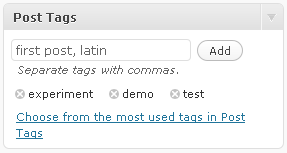 Adding Tags helps fill your post with keywords used by search engines to index your page, and by humans to find posts with a similar subject matter. Tagging a post about hiking with the tag "Wildlife" will mean users who visit that tag on your blog will be able to see all the blogs that have been tagged similarly. Try adding a couple of Tags for this post. Just type the word, then a comma, then the next word. You can also add tags one by one. Click "Add" to set the tags.
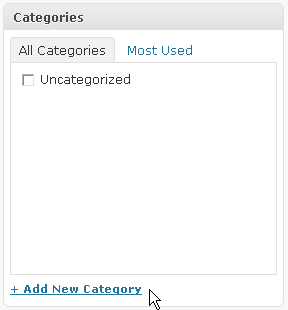
With the Tags set, you can now choose Categories. But you should find you only have one called "Uncategorized". There are two ways to set up categories, the quick way and the complete way. Here we can click the link that says "+ Add New Category" to do it the quick way. Later in the tutorial we'll look at managing categories properly.
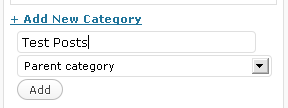 Click "+ Add New Category", enter the name of your category, for exampled "Test Posts", do not select a parent category, and click "Add".
With your newly added category selected with a check, we can now click the big blue "Publish" button at the top of the page!
Within seconds you'll receive a confirmation message. Check out your blog, you'll see the new post is visible.

