MOUNTING
THE COCKPIT
As the
quality of the model is very good, we will not encounter any problems
when it comes to putting everything together. It is, however, very
important to follow the instructions that come with plane: read them
before you begin and don't skip any steps.
You will
be able to use the techniques that you learn in this course to build
other model aeroplanes. The only thing that will change will be the
colours that you use.
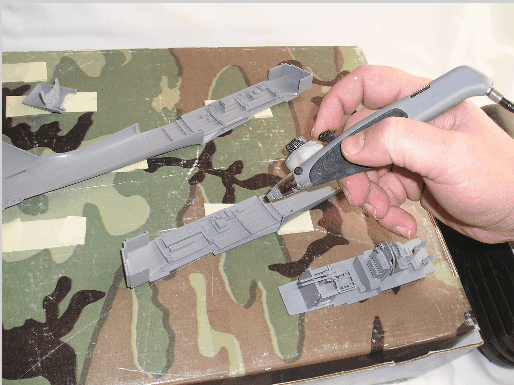
To separate
the pieces from the support we will use some small pliers. Then, using
a cutter and being very careful, we will remove the rest of the plastic
which remains on the piece.

In the
photo you can see how the cockpit has been mounted. The pieces are
glued together using a special glue used for model aeroplanes (Revell
o UHU, and others). Be careful not to add an excesive amount because
this type of glue dilutes plastic and we can get into serious irreversible
problems. If a drop falls onto the plastic in an undesirable place
then you should let it dry and then sand it off: never remove it as
soon as it has fallen. Be careful too with your fingers, as they can
be easily glued.
Take a
cardboard box for example, and add masking tape to it, then we can
place the pieces onto it.
Get the
spray gun and paint the inside of the plane with XF-24 (dark grey)
paint by Tamiya. In the next course I will explain the techniques
on how to use the spray gun. It is not difficult to use and the results
are a lot better than when you use a brush. I advise you to start
with it. In this case we have diluted the grey paint with alcohol.
(try to do 50/50) From a distance of 10cm start spraying, and stop
now and again and then start again (it is better to do it this way
than all at once).
Make sure
you:
- Are
in an open place (don't breathe in the particles from the paint
please).
- Clean
the spray gun immediately after using it. This way it will last
longer.
.
|

