Now, we have learned to save a document with Gimp for later use. In the case of the other image we have open, we will notice that the file has a PNG extension (at the title bar).
We mentioned previously that a file can have different formats. In this case, we will save this file with a different extension or file type.
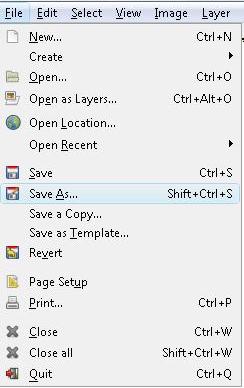
To do this, we go to the file menu and select the option Save As.
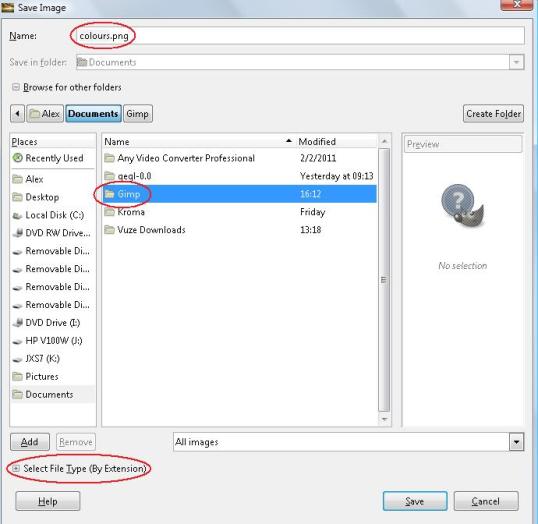
This will open the Save window, but this time we will change both the name and the format of the file.
First, we change its name.
Once we have decided on its location in the central part, we go to 'Select file type (By extension)' and we click on the plus sign to display the options.
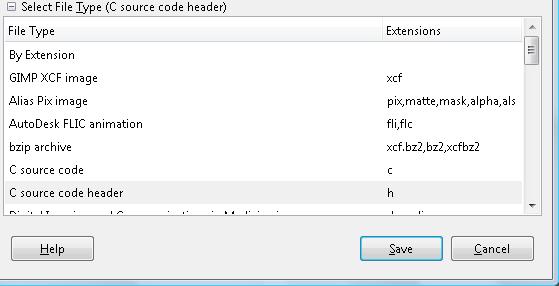
We will find several possible extensions for saving. As we mentioned previously, our choice will depend on our need. However, this time, we will use a common type of format. These are: BMP - GIF - JPeG - PNG and TIFF.
We will see the other types in later lessons. For now, we will choose JPEG and then we will save it.
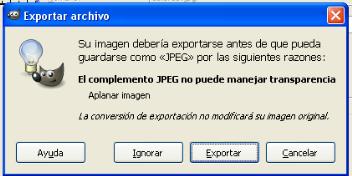
* In some Gimp versions, you'll need to export the file. If so, choose Export.
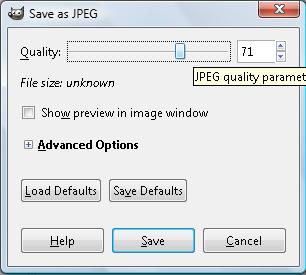
This will open the save option for this type of extension.
With Jpeg, we can use different types of compression and size to the file. We can alter this by moving the horizontal scroll bar. Once we have done this, and save our file with a new extension.