Bucket Fill Tool Blending or Gradient
Up to now, we have learned the different ways of using the Bucket Fill Tool. Blending or Gradient are other ways of filling. If we click on this tool, different Blending or Gradient options will become available to us.
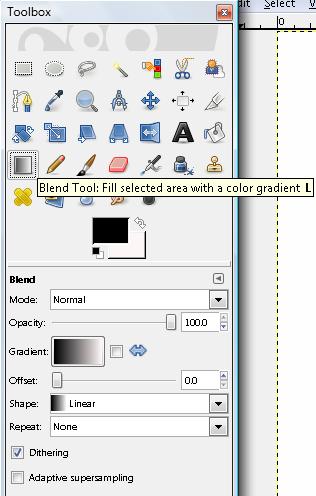
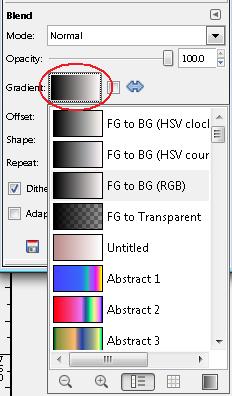
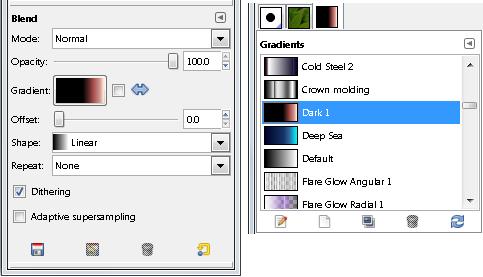
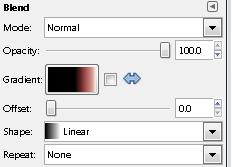
First of all, we have this box in which we can select different Gradient variants once we click on it.
We can also choose from this sub-menu or move to the right panel which has the Gradients Tab by default. Once we choose one, we will see how our choice becomes active in the box.
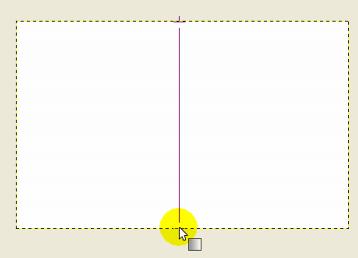
To apply Blending or Gradient, we need to go to our working space and trace a line in the middle, sideways, or diagonally to see the result. In this example, we traced a vertical line all along the working space, from top to bottom.
The result will be the same as the distribution shown by the Gradient Pattern in the square (first the black tone, then the red tone).
| However, if we click on the two-sided arrow icon, we can change the colour order. If we invert it, and we want to get the same result, we would have to trace from bottom to top instead. |
 |
Watch Video