Text Tool
As you saw in previous lessons, we now have the background for our design or banner/poster. Now, we will add some text and continue learning about the tools we need to achieve the effects we see in the Example document.
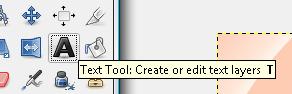
First, we select the Tool and we find a place in our working space to insert the text.
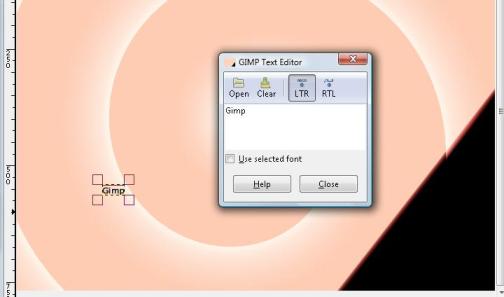
Once we click on a space, we will see that a box with a central field to introduce our text appears immediately.
In this case, we will separate each text portion. First, we will write Gimp. |
 |
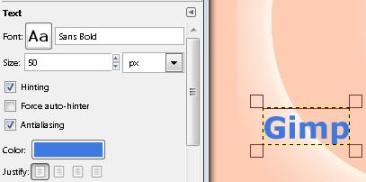
Then, we close the box and we go to the tool options section.
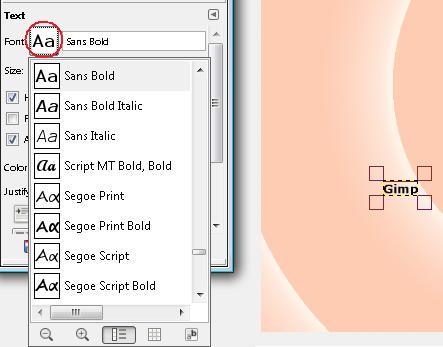
First of all, we can select the type of font for our title. Once we click this box, we will see the fonts our computer has available and we can choose one if we want to change it.
We will also choose the font size. If you change the number using the arrows, you will notice that the title changes in size little by little.
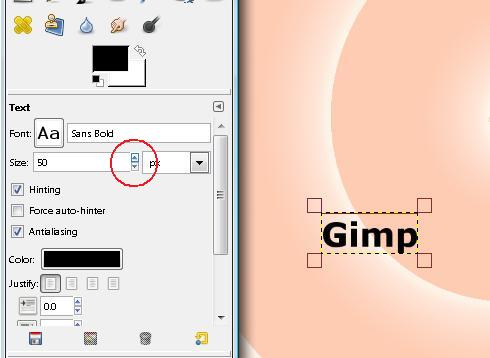
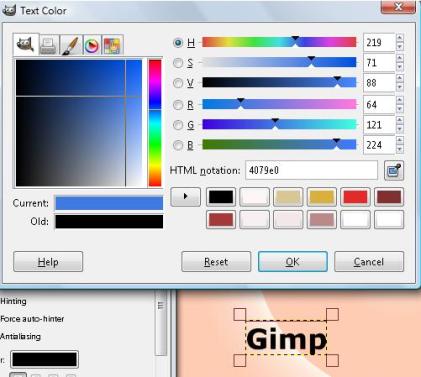
Finally, we can choose the colour. As we saw previously, to do this, we click on the colour field. This will open up the colours window where we can select a specific colour.
Watch Video