Adding new Themes
Adding new themes is simple in WordPress, particularly when you want to install a free one located in WordPress's directory. Your WordPress Dashboard is able to connect to the Free Themes Directory at WordPress.org (http://WordPress.org/extend/themes/) and download and install a theme on your server. All you have to do is provide the FTP access credentials as given to you by your web hosting company to your WordPress system so it can access and manipulate itself.
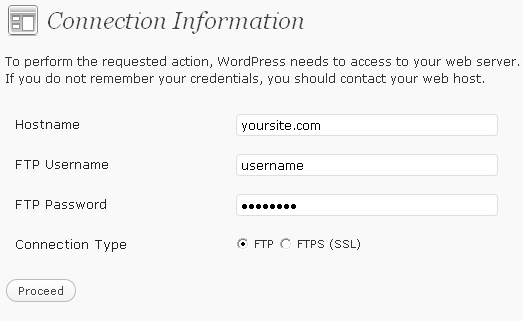
WordPress will request the following information:
- Hostname - likely your domain name, yoursite.com
- Username - provided by your web host for an FTP account
- Password - the associated password
- Connection type - simple FTP is sufficient unless your web host requires FTPS
Install a Theme via the Dashboard from the WordPress directory
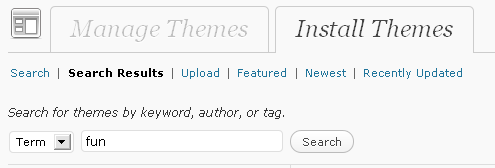
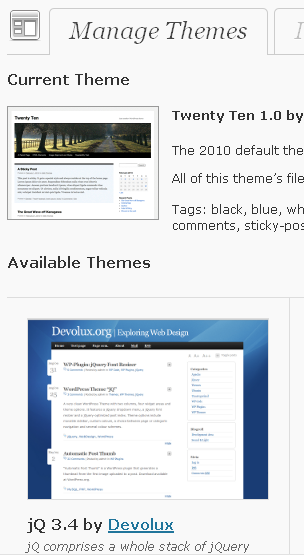
In the Dashboard, click "Appearance" in the controls. With the "Manage Themes" page shown, click "Install Themes".

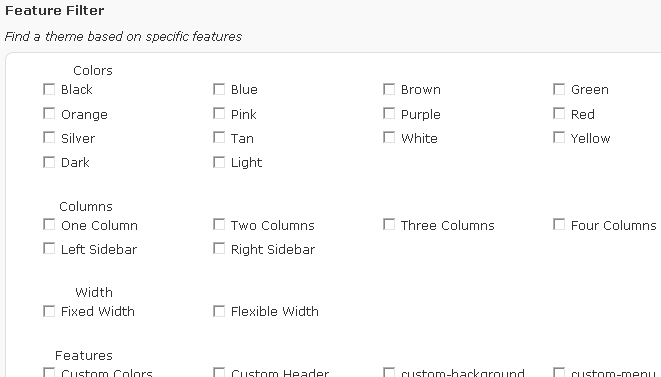
You can browse the directory by search terms or by features. Try searching for a term and clicking "Search" OR selecting some features and clicking "Find Themes".
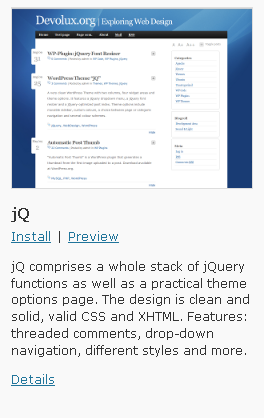
When you have a number of results, you'll see they're all listed with a small screenshot. I've searched for "fun" themes, and found a theme called jQ. It's simple and to the point while being quick different visually - that's the type of theme we need to find for this lesson, something that maintains the posts in order on the front page as we are used to. Once you see one you like (or just one you can use to learn the process) click the "Install" link below its title.
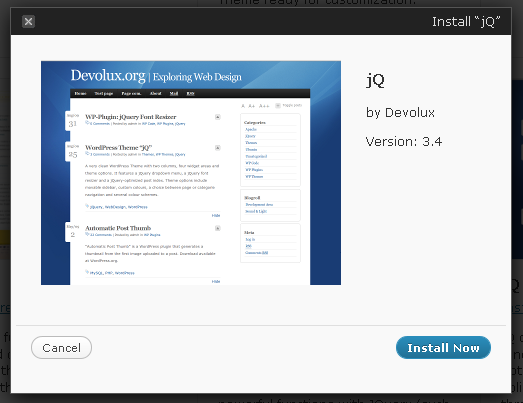
A new window will open, click "Install Now".
If you haven't given it already, WordPress will ask for your connection information. Enter your hostname, username and password for the FTP account provided by your host. Click "Proceed".
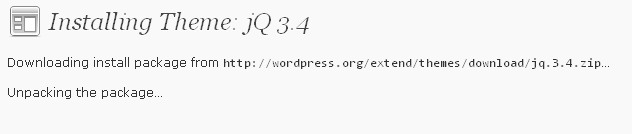
WordPress will automatically download, extract and install the theme. You'll now find it in your list of themes where you can preview and activate it!
Install a Theme via the Dashboard from a ZIP file
If you have bought or downloaded a theme from somewhere else, you can also install it quickly and easily through the Dashboard.
In the Dashboard, click "Appearance" in the sidebar controls. With the "Manage Themes" page shown, click "Add New".
Below the title "Install Themes", click "Upload".
Click the browse button and locate the ZIP file that contains the theme. Click "Install Now".
If you haven't provided it already, WordPress will ask you for your connection information. Enter your hostname, username and password for the FTP account provided by your host. Click "Proceed".
WordPress will automatically upload, extract and install the theme. You'll now find it in your list of themes where you can preview and activate it.
[Didn't work? There can be a million reasons why and you'd need your web hosting company to help you find which one is causing you problems. But why wait? You can upload the theme's manually with your FTP client...]
Install a Theme manually via FTP
The third option for installing a theme is manually via FTP. You'd need to extract the ZIP file containing a folder that contains the template files (these may be one level down).
In your FTP client you'd upload the entire folder that contains the files to /wp-content/themes/
The theme will now be visible in WordPress! That's it, just go to "Appearances" then "Themes" and there it is.
Changing to your theme after installation
If you haven't done this yet, see Lesson 17 for an overview.

