Work Environment
Dreamweaver is a very complete application with several powerful functions and at the same time, it is designed to be easy to use. Naturally, an application with several functions implies a great deal of icons, buttons, options and menus which at first glance might seem overwhelming. So, how can Dreamweaver combine power and comfort at the same time? Dreamweaver allows the user to personalize the work environment. In this lesson, we will get familiar with the main working areas of Dreamweaver.
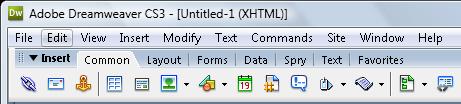
In the image below, we have the title bar with the name of the program, the title of the page we have active at the moment. It also has the usual icons for Windows (minimize, close, etc).

Under the title bar, we have the Toolbar. From there, we can access all the menus to handle the numerous options of Dreamweaver effectively.
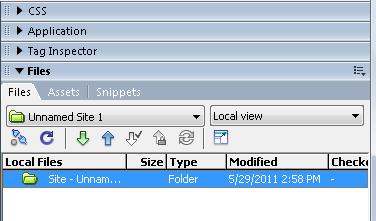
Below the Toolbar, we find an example of one of the floating panels or menus. These might change depending on the ones we have active or working with at the moment. We will see them in detail in later lessons.
In the middle of the screen, we have the opening screen. This screen will appear whenever there is no document open/active. It is composed of 3 zones.
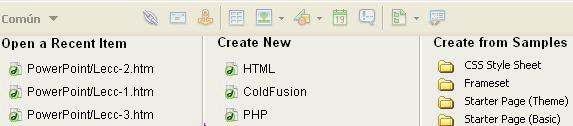
On the left: we have the list of recently opened documents and it gives us the option to open them by clicking on them.
In the middle: we can create a new document in any of the formats shown.
On the right: Dreamweaver allows us to use example templates to create our document in a quick and easy manner.
There are other floating panels or menus with more advanced functions. We will uncover them as we move forward on this course and as we need them.