Now, we are almost ready to begin working in our document. It's time we explained how Gimp works. To understand this lesson, we will use the example.xcf document, which was made previously with Gimp. It has a background, titles and the mascot of Gimp.
If we were doing this design in paper, we would have had to do it step by step. First, we would have made the background, then, maybe the titles or the figure and finally, we would have painted it.
Luckily, technology and the development of this type of programs makes functions and tools that help us in this process available to us. Most programs agree in the fact that a graphic can be distributed independently. We can do this by means of Layers.
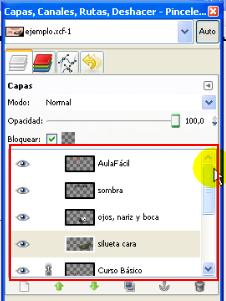
Click on the Layers tab.
Clearly, we will see that the different parts are distributed in different superimposed layers and each can be worked on independently.
By clicking on the eye icon on each layer, we can enable/disable its visualization.
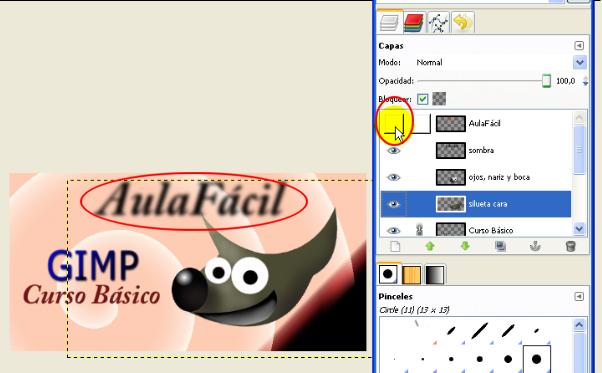
Thus, if we wanted to perform an action, we must select a layer. We need to take into consideration that the visualization of layers is arranged in a descending order. In other words, the upper layer is above the layers found below.
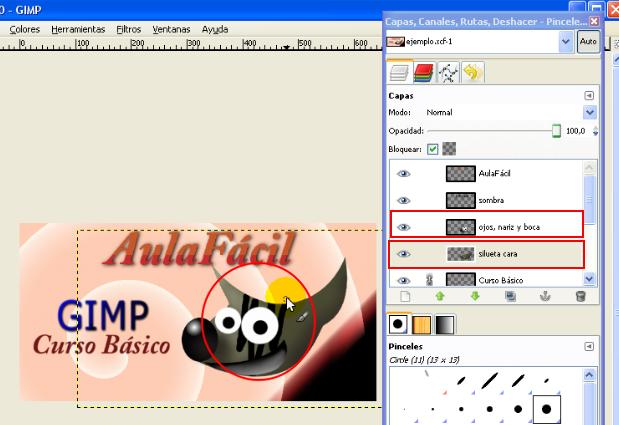
In this case, we have made some random scribbling with the Brush on the face. Since the layer "ojos, nariz y boca" (eyes, nose and mouth) is above the layer called "silueta cara" (face silhouette), these traces wont affect that layer.