This tool is special since it selects a specific area piece by piece. It is commonly used to shape a figure, or a part of it. To better understand its use, we will use the Example document. Here, we will trace a selection over the mouth of Gimp's mascot.
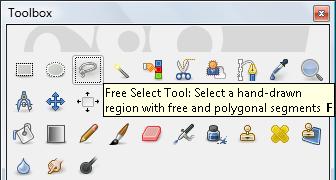
Click on the Free Select tool. The icon is a lasso Several editing programs use the same icon since it infers that we tie or capture a part of the image.
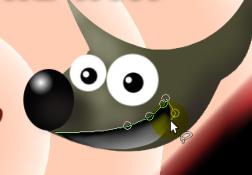
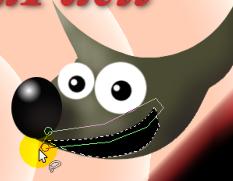
To work with this tool, we will create points by clicking on the edges, as in this case, a portion of the image; the mouth.
Once we have reached the point of origin, we can click on it or, whenever we want to close the trajectory of our marking, we just simply double-click.
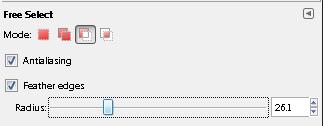
In case we missed an area because we made a mistake, we can go to the Mode in the select options and select the option 'Subtract from the current selection'.
This way, we can remove any parts we have previously selected but we don't want anymore.
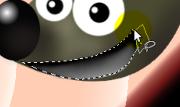
After we have properly selected the mouth, we can work on it using other tools or perform any other actions, such as erasing the contents of a layer.
To continue understanding its usefulness in this lesson, we will use the Bucket Fill Tool to fill the inside of the mouth. We will use black to fill it.
We will use the Free Select Tool once again, in the 'Subtract from the current selection' mode and we will try to add illumination to the inside of the mouth.
This time, since we have added a gradient to its border, we will select again, but not in the same manner as when we filled with black (without blending the borders). We will get more definition depending on the number of gradient we use.
As you can see in this example, the gray fill blends in with the black we applied previously.