Among the tools we have worked with, there is one tool which is probably the most appropriate one when drawing. It allows us to trace exactly. The Gimp mascot was achieved using this tool, since it allows us to draw straight lines and curves easily.
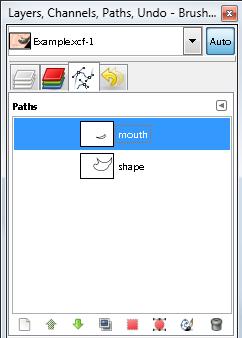
In the case of the Example document, if we go to the Paths tab, we will find 2 independent traces; one corresponding to the shape of the face, and one for the mouth.
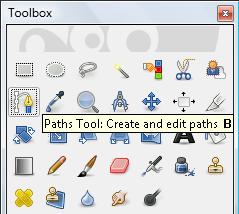
Let's see how we use this tool. Select the Paths Tool and go to the image to imitate its edges.
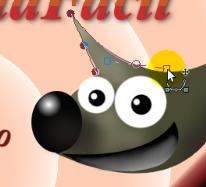
As you can probably see, each click creates a different point (or knot) which can later be edited from the strings/lines created between one point and the next. To create a curve, we need to click and drag the mouse.
To make the curve adapt to the shape we want to get, we need to take the string and pull it to accommodate the curve. This way, we can manage every string between points.
Once we are happy with our work and we want to create another one, first, we need to select the first knot/point we created, and then, mark a new one to continue drawing.
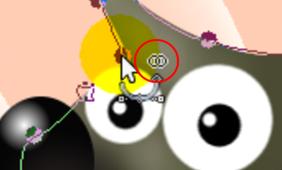
Before we finish outlining the shape, to finish it, we need to reach the first point (initial knot), and using the control key, we see that a small figure forms over the cursor (icon of the tool), which indicated we can close our trace.
After clicking, the path will be closed and it will be ready for us to work on it, as you will see in the next lesson.