Touch-up Tools
To wrap this Basic Course of Gimp up, we will see some photograph touch-up tools: Healing Tool, Smudge Tool, Blur/Sharpen Tool and Dodge/Burn Tool.
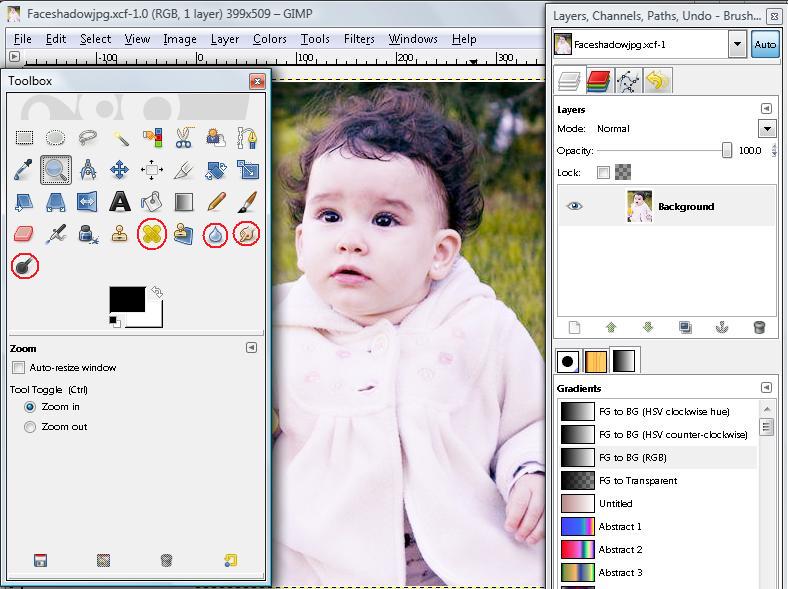
These last two have the quality of working in two opposite modalities depending on the active selection in their respective options.
First, we will define the main options for each tool. By clicking on either one, we will find its common options. Among them, the ones we are interested in at the moment are Brushes and Scale. In some cases, it will be better if we use a strong Brush (by default); in others, we will work better with a softer one.
The same thing happens with Scale. Each photograph and zone we choose for touch-up will indicate the size we must choose. Nothing is written in stone here; we need to practice by trial and error to get better results. Even if the purpose is to deform the image, these tools will allow us to achieve different results, and if we want it so, some disastrous ones as well!
For example, let's select the Smudge Tool. Then, chang its Scale or Brushes parameters to improve specific areas. It allows us to remove unwanted spots or lines by displacing adjacent pixels to blend in those spots or lines or by cutting the pixelized product.
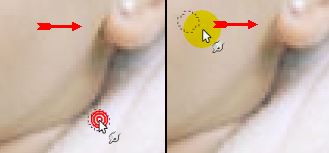
We can also deform the image when we want to get humorist or cartoon-like results.

Watch Video

